Showing posts with label bulb. Show all posts

Tuesday, March 17, 2020

Side-Marker Lights

This is my first post since CoVid-19 completely took over the international conversation with cancelled professional leagues, concert tours and pretty much every other social outing. Boo hit the grocery for our usual restock and what she saw was out of a zombie apocalypse movie: partially filled carts strewn all over the place, shelves stripped to nothing in some areas (toilet paper?) and virtually untouched in others (fresh produce). And, of course, tons of people, having lost all sense of public-face calm, filling their carts with strange things like cases of Gatorade. People are weird when they're scared, or maybe they don't usually cook at home. Either way, the world is very odd today.

My employer has directed all of us to stay home and work remotely thru 3-April, so I expect I will be getting cabin fever stir-crazy quite soon. Since today is St. Patrick's Day, may we all have a little touch of the Irish luck and see this pandemic pass quickly. Anyway, where was I? Oh yeah. Side Marker Lights.

Side Markers - Original
When I first got Hapy, the side lights didn't work. I didn't think much of it since they were cracked and had nasty looking moss growing inside them anyway. Later, I removed them when I thought I was going to paint him. I got as far as priming him. I figure when I finally do get to painting him, I don't want to wrestle with the side markers. I figured I could do that now.

On the early bay-window bus, there is a single side marker light, located rear-ward of the rear tire, fairly low on the body. Each one is wired into the respective tail light for juice courtesy of the wiring loom. Or at least that's how they're supposed to be set up. Once I got into it, I discovered why my side markers didn't work: the wiring was gone. Just cut away. Oh well. No judging. I have done some things on this bus that will scratch some heads, but this left me with a puzzle.

Side Marker - Passenger Side
Without wiring, I decided that I would tap into the tail light, so I spliced off of both the housing ground and the running-light signal. This was fairly straight-forward with some female dis-connectors and some 16ga wire. Mounting the light was far more interesting. The old set up was falling apart when I took it off, and it was so long ago, I don't have a clear picture of how it was on there. If memory serves, the outer lens was held on with long screws run through the bulb-holder and into the side of the bus. When I tried to align the new holder, with the correct snap-in plastic buttons, there were no holes in the bus to pop them through. They had been filled with bondo prior to my getting Hapy. Sweet. I chose to drill holes where the holes should have been and then attach the holder with a pair of short screws through those holes. That mostly worked, and once the bulb was set I was able to successfully test that the wiring was good (see picture),

Side Marker - Driver Side
While pushing and shoving on the wiring harness near the driver side (looking for the side marker wires), I managed to cause a failure in the driver-side running light. I looked at the wiring diagram, and it looks like that bulb has it's own fuse and circuit from the fuse box. Since the fuse box only has, like, 12 fuses, I thought this was super weird. I was not going to run a new wire from the fuse box and this was not going to be the watershed moment where I decide to replace the whole harness (which, if you remember, I got when the ignition fried, and cannot return). Instead, I did a classic DPO move. I changed the wiring for the passenger-side side marker into a 2-wire splice, running a long wire along the original harness over the engine hatch to the driver-side tail light. At this point, I made a second 2-wire splice, sending one into the running light in the tail light housing and one to the side-marker.

Unlike the passenger side, the driver side had all of the correct holes. Unfortunately, this install showed that the replacement parts do not have a "pop-in" plastic nub that is long enough to actually snap the housing into place. Since the nubs are easily removed, I simply pushed a bolt through the housing and the side of the bus and threaded on a washer and nut from inside the engine compartment. I popped in a bulb, tested and then shifted to the lens. The lens set on easily enough, though they do not ship with screws/bolts so you're on your own for those. Once all assembled, I re-confirmed the running lights work all-around (again, see picture).

K'Lack Came Back
I intend to continue doing these low-risk things until I am ready to tackle 2 big projects on Hapy: (1) re-wiring the front-to-rear using a cable and (2) implementing a defroster. Both of those will be big, and I'd like some dry weather before I start them. But first, we finally got K'Lack (our TDI wagon) back from the transmission shop. Recall that K'Lack was suffering a form of morning sickness, being unwilling to shift out of first on cold mornings. I thought it was from old activators inside the transmission, so we took it back to the rebuilder to swap them out. That wasn't it. After 2 months of trying to figure out the mystery, they discovered that the rebuild kit they were sent for the rebuild a year ago was for a 01P not a 01M transmission. After trying everything else, they pulled the transmission, rebuilt it again and compared the servos to the ones they removed and learned that they are different sizes, but barely noticeably. Anyway, with K'Lack back in service, I can pull Oliver (the MGB) off the road and fit him with a catalytic converter before he is due for Oregon DEQ in May.

Remember how at the end of the TDI retrospectives (here) I said that there would be a gap in postings for a while as my projects got spun back up? Well, I think that's finally going to happen now that K'Lack is back. With 2 operational cars, K'Lack and Flash, I can comfortably take Oliver and Hapy out of service. So, the project fun is about to begin, but that means that the blog silence is as well.

Thanks, as always, for following along. There will be more when something I haven't started yet is close to completion. Wash your hands, for 20 seconds, many times a day, my friends --

Tuesday, March 26, 2019

MGB Charging System fun

Brief post today about an electrical breakdown deja vu but this time it's Oliver ('78 MGB), not Hapy ('72 VW).

Charging System Basics
Most cars have a relatively simple "primary" electrical system. There's the battery which holds lots of stored power for starting the engine and regulating the secondary power usage. That part is obvious. Wired into that battery are the starter and the alternator (or generator in older cars). These are motors for opposite functions. One, the starter, eats the most power while the other generates power. Connecting these together are wires and the ignition switch. Seriously, that's pretty much it for the charging system. There could be a voltage regulator (VR) between the alternator and the battery, but oftentimes these are integrated into the alternator so you don't need to worry about them independently. The VR is separate on the original '72 bus, mounted on the right side of the firewall in the engine compartment. There are lots of other things connected into the electrical system, of course, but for today I'm focusing on getting the the battery to charge.

And We're Talking about this Why?
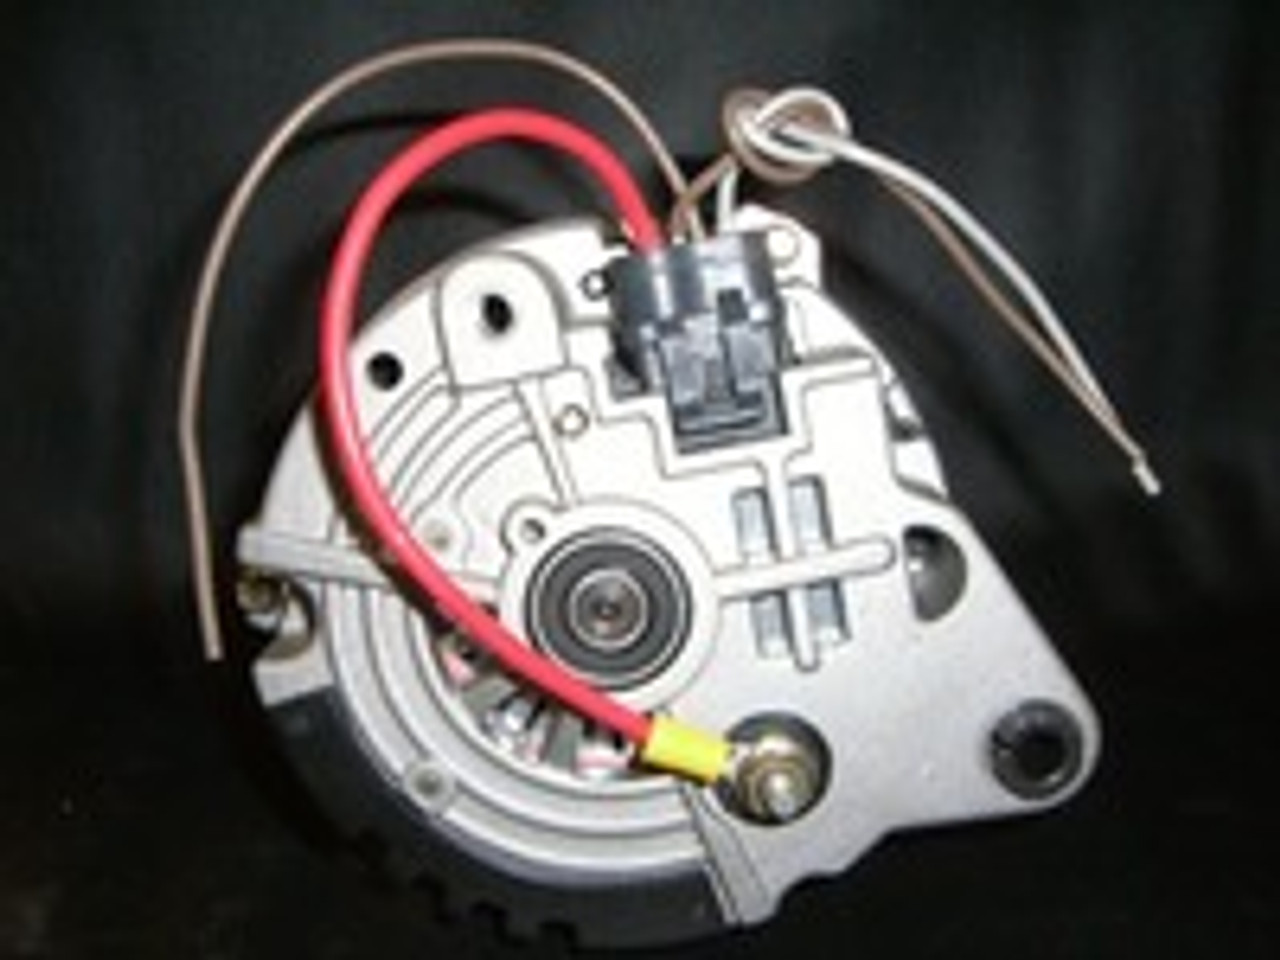
from 123ignitionusa
Back when I had the MGB looked at by the local British car experts, they indicated that the charging system was sickly. I swapped out the battery. I still found myself charging the battery up an awful lot so I bought and installed an alternator upgrade (now at 105 amps). Neat. You can find them here. But the little car still died on the side of the road a couple of weeks ago, with an electrical failure. After our adventure coming home from Furthur in 2013 (See Tale of Two Trips) I knew what an electrical failure looked like. Lights dim, wipers slow down, fans slow down and then the engine starts to miss. Soon, it won't keep running and you're gliding to a stop on the shoulder. If there is one. The last tip: the hazard lights don't work. Which is especially great when you break down in an exit lane where there is no shoulder / break down lane. Like here: (45°28'37.3"N 122°47'25.8"W).

Fortunately, it was mid-afternoon on a Friday, so the traffic wasn't too bad. I got AAA on the phone and stood behind the little orange car in the sprinkling rain waving cars around me. While waiting for the truck, an ambulance pulled up behind me. One of the guys helped me push the car some of the way up the ramp. At the intersection, a couple of guys hopped out of a car and helped push the rest of the way up the ramp and around the corner to where I could turn onto Allen Blvd and coast downhill. I came to a stop around the corner on King and Lee where Oliver was loaded onto a flatbed.

Root Cause
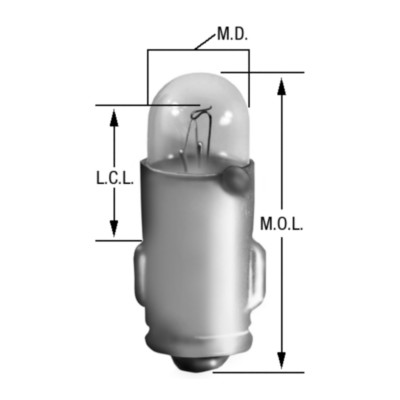
LM 11009 (BA7s)
bayonet bulb
In my list of items included in the charging system, I failed to mention one last thing: the charging system failure light (labelled "Ignition"). This seemingly innocuous light bulb does more than just tell you when your charging system is fried. Of course, it does that and it is able to do that because of this other purpose. It provides a light 12v current to the alternator through a means other than the thick battery-direct cable. When that 12v meets another 12v coming from the alternator, no light. When the 12v meets ground, the light illuminates. Cool. This small 12v signal also initializes the magnetic field in the alternator so it can generate electricity. Without this little signal, there is no field, so no power generation, eventual system failure while you're trying to exit OR217. Neat. So, at some point after learning that my charging system was sickly, that little bulb died. Did I need a new battery? Maybe, the old one wasn't too old, but it was a discount brand. Did I need a new alternator? Probably, it was original and had the rust on it to prove it. Besides, 105 amps is far better than the 43 amps you get from the original or direct replacements.

top: blown bulb
bottom: new bulb
So, how do we prove this? Well, first, when you turn the ignition switch to run, you should see that little light. No light? Check the bulb. Assuming you missed that, or just want more proof, start your engine anyway and check the voltage at the battery while running the engine above 2000 rpm. If you're not seeing around 14v, you're not charging. Replacing the bulb is inexpensive ($2.50US per bulb at NAPA), though hard to get to. I was able to access it from under the left side of the dash by running my left hand up along the steering shaft, behind the tachometer. The bulb and harness are pressed into the plastic holder, and held in simply by friction. A slight tug on the harness will free it. The wires are kind of short, so getting the bulb down low enough under the dash so you can see and replace may be the hardest part. Well, that and getting the bulb and harness pressed back into place. Since I was up in there, I checked all of the bulbs, one at a time, to make sure I didn't have to get back up under there again any time soon. Fortunately, there was only the one.

Even if the "Ignition" bulb weren't critical to getting a charge, it is wise to run with all of your warning lights working. Gauges are great, but when you're enjoying the scenery or enduring bumper-to-bumper rubber-banding traffic, you may not note your gauges as often. A bright red light on your dash attracts the eye. And, in my case, I don't have a battery / charging gauge to tell me how well my electrical system is. I like the stock look, so I doubt I'll change that, but if I wasn't thinking about it before, I kind of am now.

Anyway, that's it for today. Thanks, as always, for following along.

Tuesday, December 16, 2014

Electrical. How (not) fun

I know its been a few weeks. Like so many folks, time disappears around Thanksgiving and it doesn't really re-appear until after New Years Eve. I've been in that time warp, but I have been thinking bus-y thoughts.

Well, that's Interesting

I've spent a few hours in front of televised football, Bentley wiring diagram in hand, trying to figure out the electrical system. I have this very odd electrical behavior I'm trying to chase down.  It all started again when I put the replacement battery in. I shook something loose, and now, when the running light is on, I can't shut off the engine with the key. Turn the key back to run, shut off the lights and then turn the key? Shuts off. The last time this happened, I removed the ground wire for the rear light from the tab and re-attached it. Problem went away. This time? No such luck. The brake warning system light is also illuminated when the running lights are on, so I figured it had something to do with the rear bulb again. I've removed and replaced the bulb, but no luck. The symptom persists. This brings me to my football, Bentley and head-scratching.

Wiring Mess
In looking at the Bentley, the wiring diagram for the brake warning light is pretty simple, but it connects to a few things I wouldn't have expected, like the generator warning system. I concluded that the brake warning light would be on all the time if it wasn't semi-controlled by the generator, so after some thought, that makes sense. Still, I don't have that generator hooked up, so maybe one end of that wire got itself grounded or something. Knowing the holiday break was coming, I concluded that it was finally time, after 10 years of ownership, to pull the face off the dashboard and clean up the wiring. It's actually very easy, like so many things, to take the dashboard apart. 4 Phillips-head screws (2 on each end) hold it on. Before you start removing them, though, detach the speedometer cable. On the old bus, its a right-hand thread-in type. Vanagons have a different set up.

My bus doesn't have the little plastic tips on the "climate" control levers anymore, so I didn't have to remove those. If you have these little tips, be careful; they break easily. Once the screws are out, the face lifts off. Tilt it towards you, so the top slips under the steering wheel. You can do quite a bit of wiring without having to remove the steering wheel, but first, marvel at the dusty, dirty electrical mess behind that dash. Wow.

Enter Winter Break
My employer likes to shut the offices down for the last 2 weeks of the calendar year. They have concluded that many folks take that time off anyway, so why heat a building that only has a handful of people in it? Makes sense. So, I'm lining up work for the break. I'm starting with the wiring. I've spent a few hours figuring out which wires I don't need anymore because of my different engine. I still haven't figured out the weird short in the tail light, and now I have new electrical demons to chase (see picture). The wiring behind the dash is long overdue for some love, and the fuse-box hasn't been attached to the bus frame since I bought it. Yikes. Add in the tail light, and I've got a bit of work ahead.

Plus, I've been wanting a windshield washer, and I haven't had one since I bought the bus. RAtwell lightly describes a way of installing a more modern washer (from the air-pressure model of the bus), but he has a '79. The washer valve is completely different in a '79, so this becomes a greater engineering challenge. Bring it!

Last, I found some headliner material for cheap. The ceiling of the bus is Baltic Birch that was painted white, and looks awful. I thought the foam/felt could absorb a little ambient noise and make the interior a little nicer looking. We'll see if I have the time.

That's it for today. I have already started some of the engineering work around the washer. I'll post on that progress, as well as all the other things I started sine my last post as we enter the new year. Have a great holiday season, and as always, thanks for following along-

Monday, July 14, 2014

Fun Family Functions

We all have family functions.  For lots of families, these are not exactly fun.  There are expectations and history that create stress.  We're pretty lucky.  My brothers, sisters, in-laws and parents all get along, for the most part.  In my last post, I mentioned the road trip to Nye Beach, but failed to mention that my younger brother and sister (as well as their families) and my parents were meeting us there.  I'll touch on some of the family fun today and wrap it up with home-garage stuff.

Who's Who
My sister, M, moved to Austin a few years back.  She and her husband, S, have since bought and sold a house, bought and performed construction on a second, had a couple of kids, etc.  They are very much Texans.  I hadn't seen their daughter (I) for a couple of years and had never met their 2-year-old (K3).  K3 is a pistol.  OMG, he is such a joy.  We played soccer, and laughed.  What a sweetie.

My brother, R, has been living in the greater Portland area since the late 90's, met and married a local (KG) and has a girl (A) and boy (N) of his own.  They are both very articulate for their ages, and can engage conversationally with adults with little difficulty.  A and I are great friends who Skype when they're apart.  Unfortunately, we're apart more than we'd all care for.  N and K3 became buddies too, though, playing toys together.  So, with that backdrop, we add 3 beach-side condo's and Newport's offerings.

Watching Whales, not the Temperature
low tide
Unlike the Oregon inland, once you cross the Coast Range, the temperature remains much closer to the 40*F-60*F range.  In Winter, while we're looking at snow temperatures, the coast rarely gets that cold (though the wind is brutal).  In Summer, we may be sweating 80*+ days while the coast is a mild 65*.  The 5 days we were in Newport were incredible weather-wise.  High's in the mid 70's and overnight lows in the 50's.

As the title suggests, we saw whales.  There's a pod of about 40 grey whales who live year round in the waters just off the coast between Newport and Lincoln City.  On 3 successive nights (July 2nd, 3rd and 4th) from the condo balcony we saw whales spouting at high tide.  The first night was particularly spectacular with multiple spouts blowing simultaneously and at least 5 different whale-back sightings over the course of about 30 minutes.  KG had been coming to this spot for over 30 years and had never seen whales.  Upon hearing this, we were all the more appreciative of the sight we'd witnessed.  Of course, we were so awe-struck, none of us thought to take a picture.  Drat!

Sand Castles and Sand Sliding
Below the balconies, was a beach of duned sand.  Apparently this was somewhat rare too, for the beach was usually flat.  Back from the highest tide's edge, the sand had been shifted by wind into what looked like a series of trenches with steep sides, but only a couple of feet tall.  These created effective, but sandy, wind blocks that we and others used for building beach fires.  With all of the boy energy being fed into air-soft guns, Boo and I expected them to use the trenches and play guns.  Surprisingly, they didn't.  They used the trenches as starting points for elaborate sand castles.  So, with garden shovels instead of toy guns in hand, all of the boys (K, K2, K3, T, C, and N) set to building things.  The bigger boys also discovered a steep bank of sand that stood over 30 feet high a little further north.  They would one by one jump from the top and do their best ski/board imitation down the bank.  Apparently, K2 was hitting 360's by the time they stopped for good.

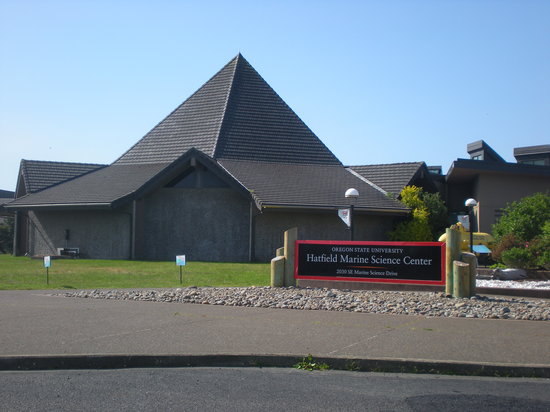
Hatfield Marine Science Center
HMSC
We spent a day at the Hatfield Marine Science Center too.  We all highly recommend it.  It is officially free (though donations strongly encouraged), and about 1/3 of the space is dedicated to interactive exhibits.  The remaining contains tanks of sea-life and presentations on waves, oceanography, climate change impacts, etc.  I hadn't been to the science center since NOAA moved in next door.  NOAA's influence can definitely be felt now, and its a good thing.  All of that research now has a available-to-the-public outlet at the Science Center.

Devil's Lake
In my last post, I mentioned the Devil's Lake day-trip.  Devil's Lake is a small lake (3 square miles) and seemed to be for boating than beach/swim access.  R & KG found a city park that had a boat launch, but more importantly a lake-beach and a huge playground to play in/on.  The younger kids had a blast.  It was fun, but it was after K and K2 had left.  This made T and C sad, and less active.  We truly have become a completely blended family when we don't feel complete because some of the boys aren't there.  I had heard that this was a family maturity state, but I hadn't seen it coming.  The boys are back together again after a week apart, and it really is a homecoming.


Home Garage
bulb on left has lost its dimple
After coffee Sunday morning, I wanted to find the oil leak and solve the persistent tail-light issue.  Starting with the tail light, I discovered that when I installed the battery I must have bumped the tail light assembly.  This bump flattened one of the dimples in the brake/running light dual-filament bulb.  So, the bulb wouldn't sit in the holder correctly, causing a short across the positive contacts of the bulb.  By swapping out the bulb, the problem went away.

The oil leak still escapes me.  I cleaned the underside of the bus engine with brake cleaner.  It seems like the oil is coming from the turbo-side of the engine, maybe from the low-pressure oil return?  Since the oil level isn't meaningfully dropping, I'm not convinced its the problem.  Next, I checked the oil level in the transaxle.  On the transaxle, "full" means the fluid level is just under the fill hole.  I opened the fill hole while the rear of bus was up on ramps and none dribbled out.  No bueno.  I shot in about 1/3 of a bottle before it started dribbling.  I think we have our oil source.  The trick is figuring out where it's coming out.  I don't see a source on the outside, and the clutch doesn't seem affected, so if it's coming out from the output shaft end, we haven't noticed it yet.  Curious.  I may need to drop the engine and separate the tranny and engine to be absolutely sure.  Since everything is running fine now, though, it will wait until camping season ends.  Of course, that's how adventures begin.

More next time...


Saturday, June 9, 2012

Can You See Me Now?

EDIT: the new Blogger removed this post for some reason.  Hopefully, it doesn't happen again.
Daily driving has surfaced a couple items.  I'll hit those today.  The coolant levels appear to have been resolved, though I expect it to return.  The bus continues to weep oil, but I can't tell from where.  I may just wash it off at one of those places where you can wash your car yourself (not a machine), and see if I can find the leak when it's clean.  If this doesn't get too long, I'll finish off the snow season.

Light It Up
original on left
new on right
I was having troubles with my rear lights, so I finally ordered new rear tail light housings a few weeks ago.  The original ones were really getting tired.  The connections were falling apart, the housings themselves were fractured, and he grounding back-plane was all rusted.  When I removed them, the passenger-side dual-filament bulb (brake & running light) was full of fog.  The reverse bulbs were either missing (p-side) or the wrong size.  They were held on with packing tape.  Yes, it was so ghetto, and most importantly, they didn't light reliably (not surprising, considering the condition).

The new ones cost around $50 each from BusDepot.com.  They don't come with backing nuts or washers, though, so if you buy a pair, you need 5mm washers and nuts from the hardware store.  That's inner diameter; an 8mm socket fits it.  Apparently, the rear left corner was damaged by a previous owner, so the new housing didn't fit exactly, but it fit close enough.  Thinking I had it all solved, I started testing things.  I had blinker problems on the left side and either the brake light or the running light on that side wouldn't work.  I found a bad ground as the cause for the blinker, but I couldn't find a cause for the funky lighting.  After a couple hours of head-scratching, I finally tested the bulb.  One of the filaments was bad.  Ha!  Just goes to show that even though you may be driving a 40 year old relic, you need to start your issue diagnosis the same way as a new car: check the fuse, then the bulb.  The left dual-filament tail light is still a little spotty from the bulb not locking in tightly.  The reverse lights still don't work (low voltage problem), so I'll be back in there eventually.  I'll think of something.
change wires one at a time

Floor It
I mentioned getting the accelerator bracket fixed a few weeks ago.  Its been great driving around with that much response.  The clutch, though, was getting less responsive.  The cable was new when I put it in, and I think it has finally set its broken-in length.  So, I slid under the bus and tightened the cable by 2.5 turns (5 180* turns).  Now, I don't need to mash my left foot all the way into the carpet or goose the throttle to get the gear to set.

Enter Summer

Boo and I hit Mt Hood for one last time on Mother's Day weekend.  A friend of ours has a cabin near Welches, and we stayed there Saturday night.  We hit Timberline after stopping for coffee's and headed to the top of Palmer.  The snow was surprisingly good down through the middle of the Magic Mile section where it turned really soft.  It was a day of highs and lows that way, though.  With the boys playing lacrosse, we feared it would be our last time up, and it turned out to be so.  We both took pretty major falls in the transition from firm to soft snow, and no one wants to leave hurt.  On the emotional high-side, the view and weather were incredible.  We could see 2 snow-capped peaks to the south: Jefferson and Bachelor from the top of the Palmer run.  The biggest emotional curve-ball, though, will wait for another day.  We'd love to get back on the snow again, and though Timberline continues to get snow, our season passes expired.  With a day-lift cost of $60 each, its not too likely we'll go.  But... one-run only lifts are $15 each for adults and $9 for kids and seniors with a Family 4-pack of $42 (2 adults, 2 kids).  Hmm...

The boys' school year ends this next week.  It seems crazy that Summer is already here.  Weren't we just sliding in the snow?  Where'd Spring go?  Well, here in the Pacific NorthWest, June is usually solid rain, so I'll get that reality set-in before the heat of Summer sets in.  Thanks for following along all these months (years, even), and I'll be back again soon..