In the Summer of 2019, we barely made it home at the end of the Dog Days 333 (See parts 1 and 2). Hapy decided to just not start on command anymore. He was dropping into that modified limp mode and it was happening not just when he was cold, but pretty much at random. I promised him that I would fix it as we sat idling in a Dundee convenience store parking lot while C was in getting us drinks. Today's post starts that "fix it" journey. Before I begin, for my US readers, Hapy ThxGiving. For CoViD's sake, please stay home.
One Last Time
 |
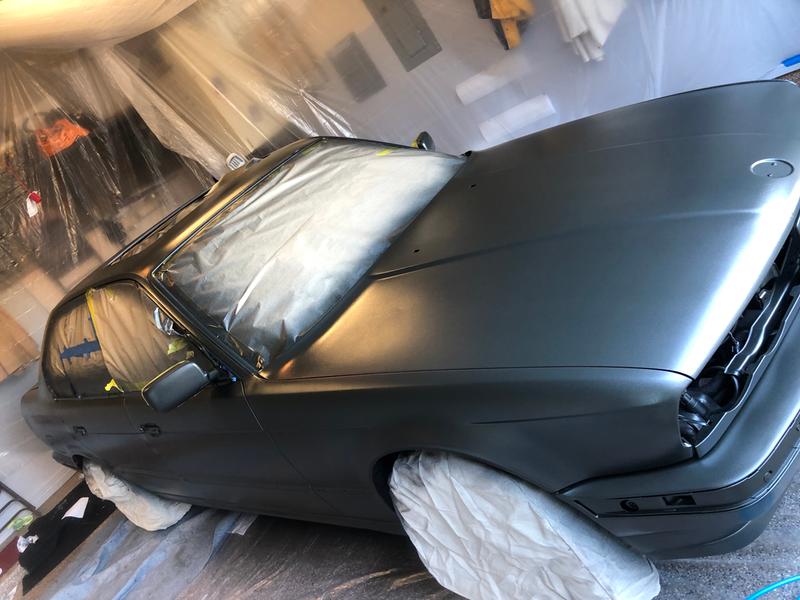
| Hapy's usual home |
First, I had to get Hapy into the spot. He is usually parked on a tarmac strip at the curve of our driveway so we can see him out our bedroom window. Yeah, we're weird. For any other car, moving it would be a simple effort of start, drive forward, reverse into the spot. Once I got the other cars out of the way, it was his turn, and just like so many times before, he just didn't want to start. I turned the key to start and nothing happened. Sigh. So, I tried to push him. Nope. There's a little dip in the tarmac that he would roll back into. I had to pull him onto the concrete with a trucker's chain around his front sway bar at one end (his front tow hook was pancaked by the prior owner) and around Nemo's front end on the other end. Fun. While I was trying to figure out how I was going to push him back into the covered spot, I lamented out loud to Hapy "why can't you just start one more time?". His response: he started. Of course; good boy. So, I backed him into the covered spot, and turned off the key.
Running Cable
In the TDI retrospective about secondary electrical, I mentioned replacing the single wires I originally installed 10 years ago with a cable. Well, I bought 30 feet (~10m) of 12-wire 16ga cable for this job when I bought cable for the additional gauge (see Oil Pressure and Temperature Part 4). It is not quite as thick as my ring finger as a sealed cable, and it has a nice thick jacket on it. I figured that the computer and rat's nest wiring is on the driver (left) side, as are the accelerator pedal and ignition switch. So, running the cable along the driver side made more sense than running it along the other side. Turned out, I thought the same thing 10 years ago, as the old wire bundle ran that way. I started from the rear, threading the cable through the bottom of the spare tire well and down into the engine compartment. From there, I ran it through manufactured holes in the frame over the rear suspension, along the inside of the mid-section frame rail to the cross member near the new heater location. I pressed the cable through a square hole in the cross-member, under the brake booster and then through another square hole into the area covered by the front belly pan. I had bored a large (~1/2 inch diameter) hole at the very front over the Summer when I routed the heater fan control cable through. I had planned to reuse that hole for this cable, and it fit with very little trouble. I pushed and pulled about 5 feet of cable up through that hole so I could stand alongside the driver seat to do the wiring bits.
Wire Front First
The 12-wire bundle is more than I was really ready for. The accelerator pedal needs 6 of them. The start and run signals account for 2 more and the OBDII signal is the last. The other wires will be used in the future for things like a speed sensor and a glow plug light. Like the extra wire in the cable I strung for the oil temp and pressure for a low coolant warning, I'll get to those later. For posterity (and my own personal reference later), these are the circuits for the 12-wire cable. I will update this as I make changes or discover mistakes:
| circuit | wire color | purpose |
|---|---|---|
| 1 | Red | Accelerator Pedal 1 |
| 2 | Yellow |
Accelerator Pedal 2 |
| 3 | Orange | Accelerator Pedal 3 |
| 4 | Brown | Accelerator Pedal 4 |
| 5 | Blue | Accelerator Pedal 5 |
| 6 | Black | Accelerator Pedal 6 |
| 7 | Red/Black | Ignition - START |
| 8 | Blue/Black | Speed Sensor |
| 9 | Orange/Black | OBD-II |
| 10 | Yellow/Black | Ignition - RUN |
| 11 | Brown/Black | Glow Plug signal |
| 12 | Black/Red | OPEN |
I started with the ignition, splicing into the existing "RUN" circuit with the new signal wire. I figure the existing stuff (like lights) need power too, so the existing wire will simply feed old circuit #15. For the "START" signal, I just ran the new wire. The old starter signal was pretty batty, but it proved the TDI install was viable. Recall, it ran from the ignition down the old wire to right near the starter where it was spliced into a new wire that ran around the engine compartment to the spare tire hole through a relay to the computer, which then signaled TDI-donor relay to fire the starter... thru a new wire to the starter solenoid. There's like 20' (7m) of excessive and old wiring that I can eliminate. Then, I moved to the accelerator pedal.

EDIT: I have updated the picture on the right here and the wiring reference above to reflect the actual circuit numbers in the wiring diagrams to avoid any confusion. Originally, the numbers ran the wrong direction relative to the official wiring schematics.
Even without the change, it was important to consider placement of the cable and the things that were going to be wired into it when I made my cuts to the wires. The ignition, speed sensor, etc are all at the dash where the accelerator is at the right foot. I made sure there was about 3 feet (1m) of cable between the ignition and the accelerator pedal cuts so there is room for cable routing. Also, it was important to pre-route the cable as much as I could so we didn't end up with the cable running in front of the steering column or goofy some other way.
Next
I admit, that doesn't sound like much. I moved the bus, ran some cable and did the wiring at the front end. Still, in sub 40*F (4C) it was a feat getting that much done without going numb. The weather around here is decidedly cold. I accept that I will not be able to get things done on Hapy very quickly, but with him out of the rain, at least it is not completely miserable. Just cold. If I can stand the cold, I will finish up the wire cable in the front by wrapping it with some plastic wrap, and pressing the excess cable back into the belly pan. Then, I'll push/pull the excess back to the rear so I have room to wire up the controls back there, probably leaving me close to 3m of leftover cable. There is a great deal of electrical housekeeping that I have not done back there. I think this is the right time to clean all that up, removing the unnecessary, trimming and mounting, etc so it is nice and clean. And, or course, our sporadic modified limp mode will no longer appear. It's all about staying warm enough to take small steps forward and eventually the wiring will be done. Then, I'll switch to diagnosing Nemo's rear bearings again.
Thanks, as always, for following along. Posts may appear more slowly as my work slows down. I'm still working on it (and staying CoViD safe, of course).


.jpg/1200px-Mondial_de_l'Automobile_2010%2C_Paris_-_France_(5058943600).jpg "silver Datsun 280ZX")