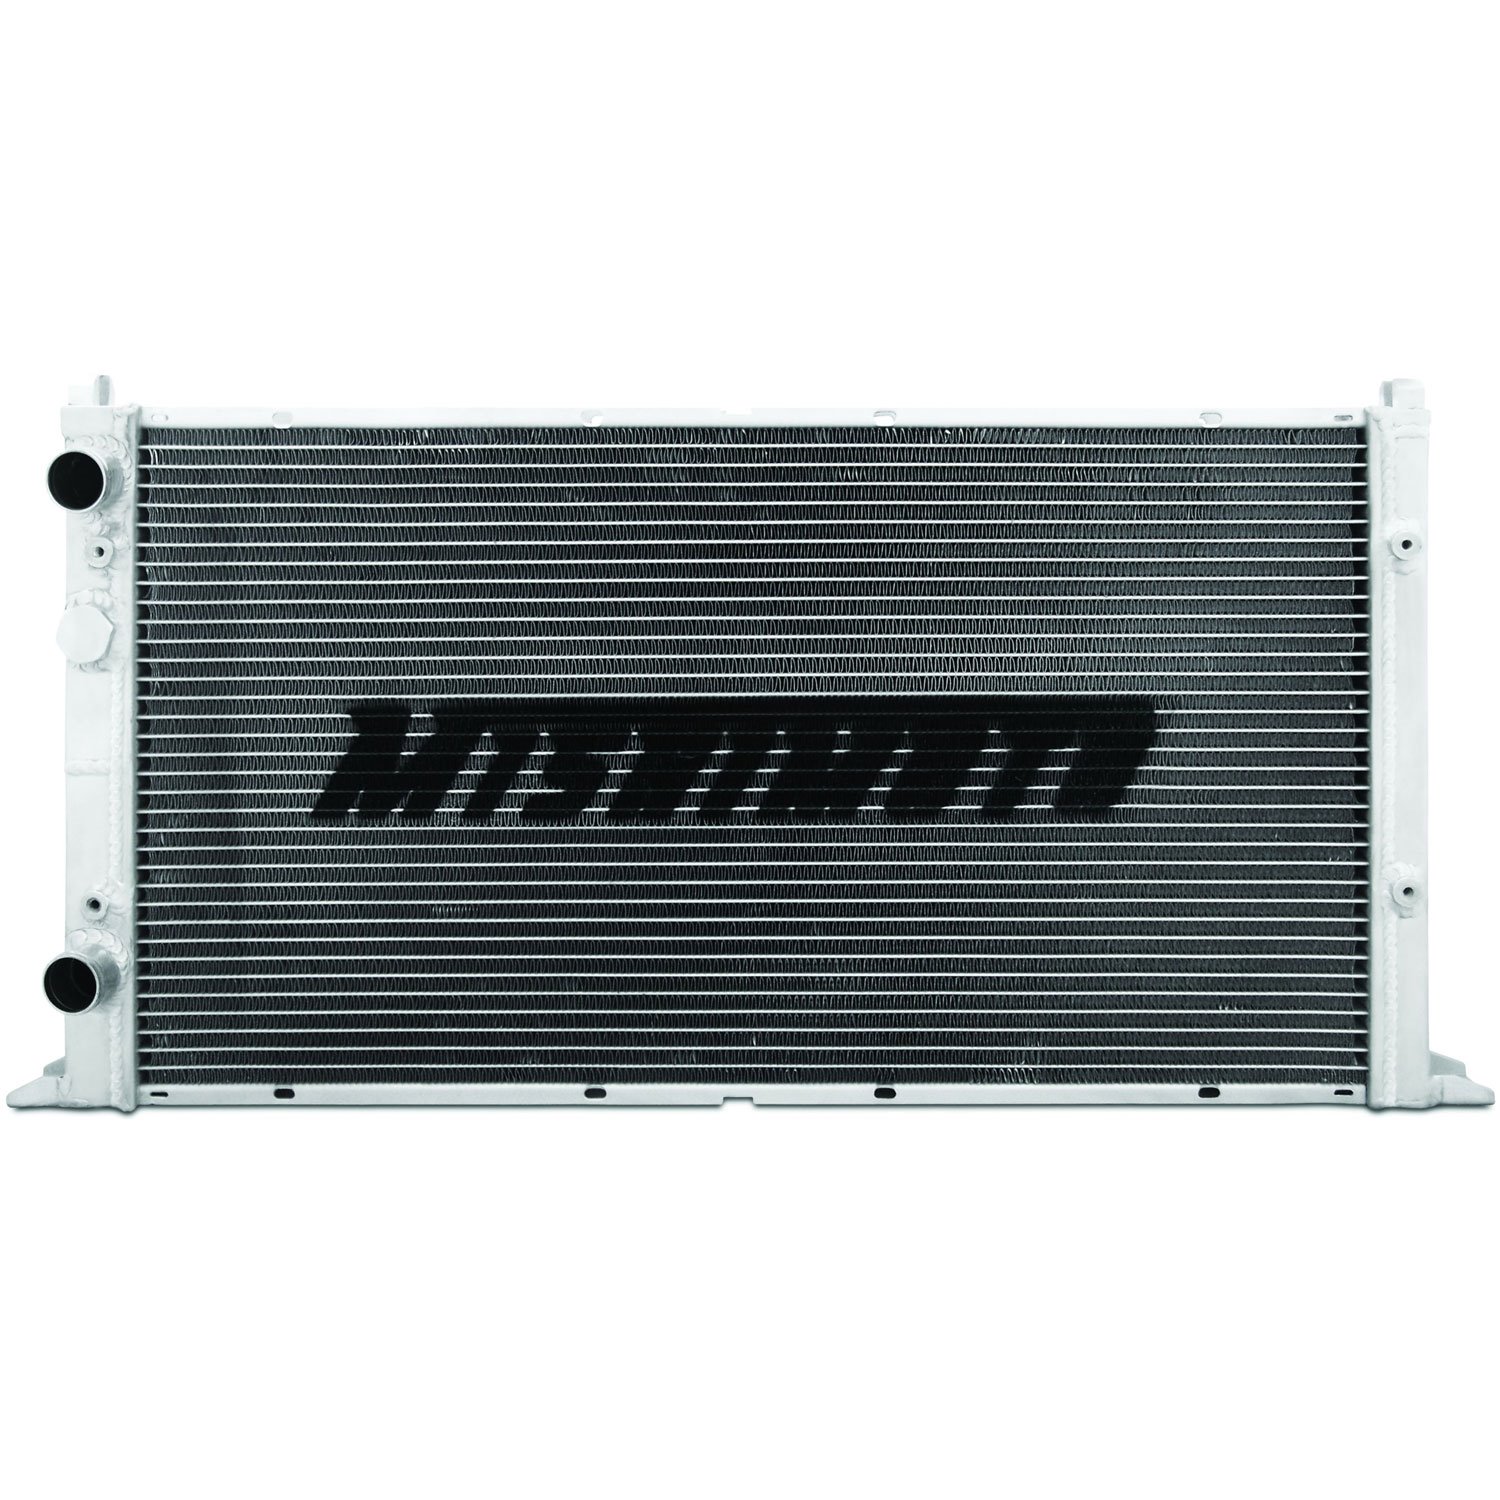
Continuing from an earlier posting, today I'll cover the assembly and install of a new Mishimoto all-aluminium radiator into the TDI-powered microbus.
Where Were We?
 |
| Old rad, for perspective |
In the last post in this series, I removed the old radiator from the bus, destroying the wiring along the way. I removed the framing / bracketing that supported the radiator from the old one and cut off the fans. Now stripped bare, we can compare the new and old radiator. The outlets are the same distance apart. The holes that I used to hold the frame on were in the same spots... but... all the other bits for holding the radiator into a Jetta were flipped over. So, the original fan housing (and air conditioning condenser) would line-up, but it looks like the inlet and outlet are on the wrong side (driver-side versus passenger side). And, the temperature sensor that triggers the fans is now on the same side as the inlet/outlets. So, in a Jetta, this could be solved with different hoses. In the bus, this gets interesting.
Bracketing
Because of the reversal of the inlet/outlet, I realized that the front bar where I had 2 radiator mounts attached needed to get flipped over. I cut off the pop-rivets holding on the mounts, and re-set their location the same way I did it the first time: threading the mounts to the radiator... but wait a minute. The new radiator doesn't use screws. It is threaded for bolts. Neat. I found one bolt in my fastener bins that fit, took it to ACE and got 8 stainless steel hex-bolts that fit: M6 1.0 pitch.
 |
| installing fans |
Once back from ACE, I threaded on the front mounts, lined up where they should connect to the bar and marked the spots. A quick-run with a 1/8" drill bit and the pop-riveter and the front bar was ready again. I then turned my attention to the fans
Fans
I looked at the pile of plastic and foam bits. I thought I could drill a hole through the original bottom-bit and thread a zip-tie through. Instead, I found fender washers that had a small enough hole to allow the zip-tie, but not large enough for the end to slide through. This would work! So, from the bottom, the zip-tie passed through a washer, a foam bit, the fan housing, the radiator, another foam bit and last a plastic zip-tie anchor. To be extra sure, it would all hold, I ran the zip-tie back through the fins and then through the zip-tie head on the bottom.
Cowling
 |
| adding cowling |
With fans in place, I attached the mounts. The radiator was starting to get a little heavy. We're feeling almost done, until the flip-over design of the mounting points would stymie the work again. The cowling wasn't fitting anymore. The left and right (driver-side / passenger-side) needed to be reversed because of the angles (front pitched downward to catch some slipstream), but it wasn't quite that simple. After some head-scratching, this ended up being as easy as folding the cowling the opposite direction from what it had been. Then, it bolted right on. I concluded the prep by zip-tying the fan electrical leads to the cowling so they wouldn't be buffeted by the passing winds any longer.
Install
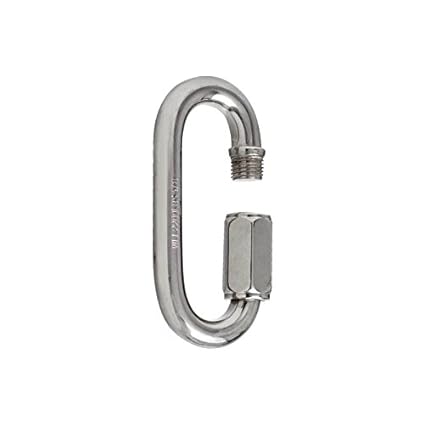
One it was in one piece, I took it back over to the bus and slid it under from the driver side. I hung the threaded carabiners onto the eye-hooks on the frame. Then, I put the front bar on the jack and lifted it into place. Once I was able to get the threaded carabiners onto their respective lengths of chain, I removed the jack and repeated the effort with the rear mounts, again doing the driver side first. I checked the movement, verifying that the radiator unit would swing back and forth, front to back and had some headroom to bounce up.
Wiring Re-wiring
 |
| install-ready. topside |
Now that the new rad is physically mounted, I switched my focus to the electrical. The new radiator did not deliver with a fan switch, but it did have a threaded hole for one. I had ordered one years ago when I wanted to have the fans come on automatically. I just never got to it. So, I ran the threads on the switch with plumbers tape and threaded it into the hole (with the rubber gasket in place, of course). I still don't have the trust that the temperature-sensitive fan switch will work, so rather than wire that in, I stripped out all of the extraneous wiring and set up the switch on the dash to fire both radiator fans and the little motorcycle fan on the intercooler.
For my sake, I'm posting the circuit numbers from the relay:
30: 12V+ this is fused, but unswitched power so the fans can run with the key off
85: grounded
86: to the fans
87: trigger switch. One day the thermo fan switch will wire in here. For now, it's the dash switch
I cleaned up the wiring so it's nice and tidy with the relay zip-tied to the underside of the bus and out of sight. I may wire the fan switch into relay pin 87 just to see if it works. It might be interesting to wire those pins to a light on the dash so I can see what temperature they fire at... for a first step. If nothing else, I could use that as a temperature warning light.
Plumb and Fill
 |
| install-ready. underside |
With the electrical solved, and the rain well settled in, I didn't want to give up. I was mostly under the bus anyway, and the bus cover provided additional rain-cover so I wasn't really getting too wet. Fortunately, water hadn't started running under me in growing puddles yet. So, with that motivation, I wriggled the longer hoses onto the 90* bends off the radiator and hose-clamped them really tight. It surprisingly took me no longer to do than it took to type. I went around to the back of the bus, pulled the cover up, opened the tail gate and filled the overflow bottle with G-40. This is a process, requiring filling up to the full line and then venting the air out of the lines with the little spigot I installed just below the thermostat. I continue this process until coolant/water mixture comes out the spigot. It took the gallon of G-40 and wanted more. So, I topped off with distilled water (about 1/2 a gallon).
I dodged to the front of the bus, confirmed the fans ran and then disconnected the battery, closed everything up and dashed inside. One day, I'll have a huge garage. Until then, I work in the rain.
I took Hapy out for a test drive, and I believe the swap is complete. I suspect one or more of the hose clamps will need tightening, but otherwise, I think it's ready. If this fancy super-radiator doesn't do the trick for keeping the temps down, I may need to route more air through it. That would mean either lowering it, routing some ducting from the front or both. Here's hoping the super-rad does the job.
Grilled
I made one last change to the set up after the test drive. I had a section of security fence lying around, so I cut a section, spray-painted with a couple of coats of semi-gloss black and slapped it on the front. This will prevent plastic bags and other garbage (that seems to be appearing on the roads in greater frequency) from getting sucked into the radiator, fouling it's ability to cool the engine. I had meant to do this with the original radiator install. Once I did it, I was surprised at how quickly it went from the cardboard package through the tin-snips and paint to install. In terms of actual effort, it was less than 30 minutes. I really should have done this earlier. The picture to the right shows it mid-install. The nut with washer on each lower corner have since been tightened down and there are zip-ties across the bottom as well as on the top corners holding it in place.
That's it for today. I would like to do something with Hapy's brakes before a real trip. I have rear wheel cylinders and I'd like to replace the lines between the master cylinder and the fill reservoir as well as all brake fluid. Maybe I'll get that done before 4Peaks. I hope so. Anyway, thanks, as always, for following along-