Background
 |
| disconnected front chains |
Radiator - (almost) 9 Years Later
 |
| draining the coolant |
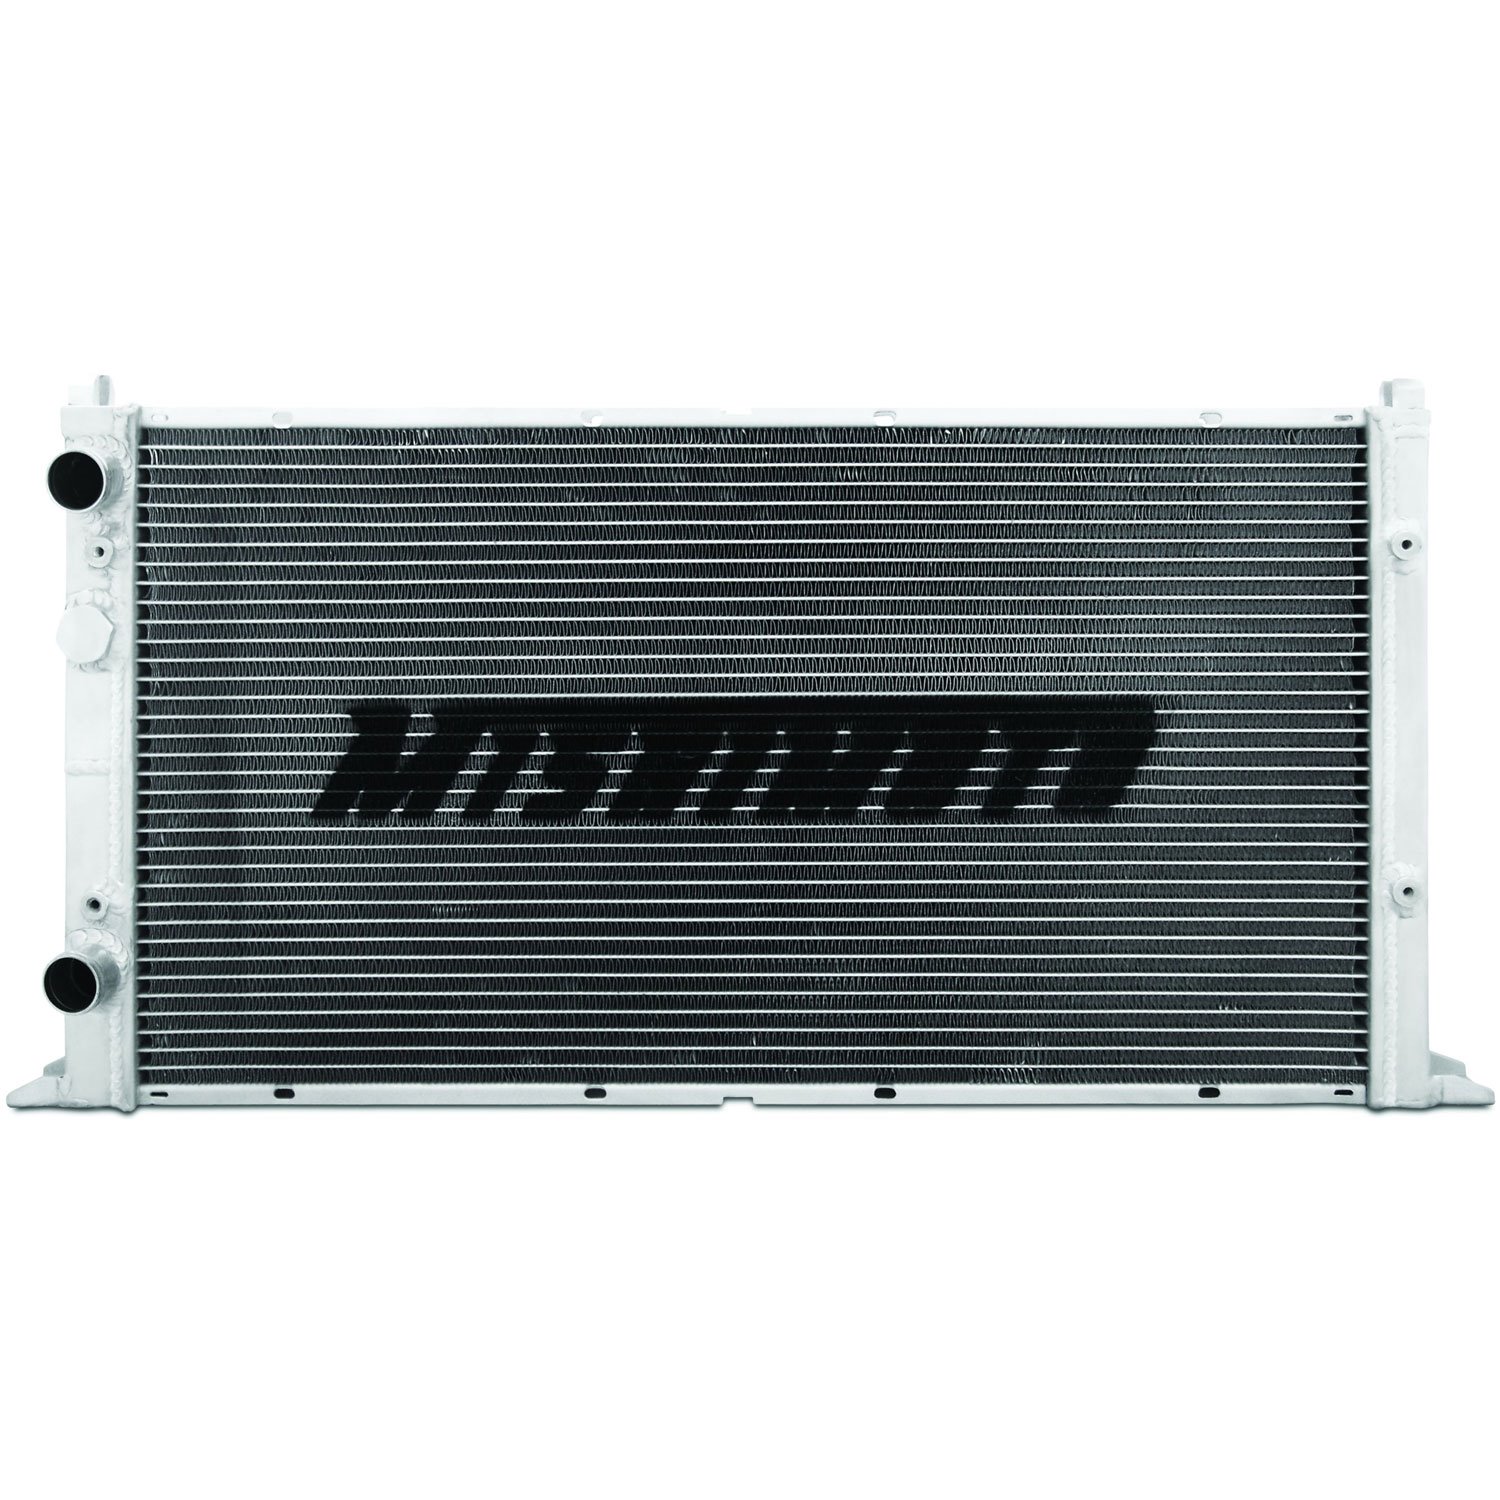 |
| photo nabbed from JEGS, where I bought mine |
Meet the New Rad
I figured that if I was going to buy a replacement radiator, I had 2 options: direct exact replacement (aluminium single-pass core with plastic sides) or an upgraded (multi-pass) all-aluminium one. I considered that I can't say for sure that the original radiator was powerful enough to cool the TDI pushing the bread-loaf down an interstate. When I first did the swap, I babied the bus and I still had my eyes on the temperature gauge. I would really like to stop doing that, so I looked a little deeper into the all-aluminium ones which are supposed to have considerably better cooling capability.
The interweb can't decide if the all-aluminium models are any good. In the mixed reviews, most of the issues appear to be with drop-in fitment, not with performance once installed. Since my fittings are completely custom anyway, I was not deterred. The performance ratings are across-the-board positive, with some actual numbers demonstrating the quality. Of course, not all manufacturers are equal, so I looked to what online vendors sold. There are many radiators which appear to be only sold on eBarf by drop-shipping companies direct from China. That is, except for Mishimoto. The Mishimoto radiators are sold through Summit Racing, ECSTuning, JEGS and a few others. That was enough for me, and I ordered one that was supposed to "fit my vehicle" when I said it was a Jetta3.
It arrived in a very well packed box, designed for shipping and typical shipper mishandling. The extra thick cardboard protected it very well, and it looked so nice and shiny. It looks pretty much like the picture, actually, though instead of "MISHIMOTO" emblazoned across it, there's a big "M". Before I could get too excited, though, I needed to see how the mounts compared to the one I was removing... which meant I had to remove the old one first.
Removal
 |
| removing the cowling and frame mounts |
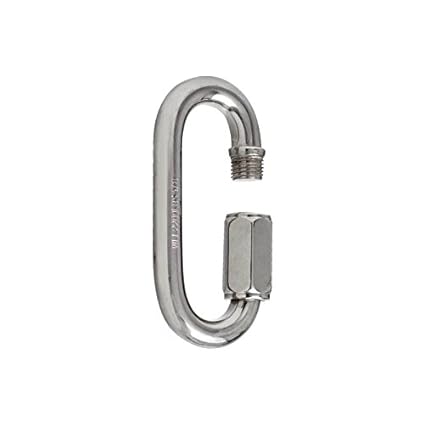
The radiator is suspended from the underside of the bus with chains: one on each corner. The top of the chain is attached to an eye-hook that is mounted to the frame just under the floor. The chain and eye hook are connected with a thread-closed carabiner. The same combination is at the bottom of the chain, with an eye hook at each corner and a threaded carabiner attached to it. In between is a short stretch (3 or 4 links) of high-test chain. To remove the radiator from the bus, I slid my orange floor jack under the front rail of the radiator frame and lifted the unit until there was sufficient slack in the chain for the bottom link to slide out from the threaded carabiner. Once free, I lowered the front down, and shifted to the driver-side rear corner and then last the passenger side (I was lying on the passenger side so this order kept things within my sight and reach). Once the radiator and frame were on the ground, I slid them to the driver side so I could pull it out, and took the whole operation into the garage.... just as the rain started.
Radiator Off-Frame
 |
| about to remove the fans |
Each fan was held on with 4 one-use-only custom zip-ties. On the bottom end was a plastic square that crudely fit into a spot on the bottom of the fan. Connected to that is a zip-tie-like plastic stick that fits through a foam bit, the radiator fins, another foam bit and then another plastic square that clicks along the zip-tie. This last bit is what holds the zip-tie tight. To remove, I cut the custom zip-tie off with wire-cutters, retaining all of the pieces. I had thought that I could drill a hole through the bottom plastic square, and re-use all the rest (except the zip-tie stick part) by using a basic zip-tie. I didn't drill or reuse that bottom plastic bit, but I'll get into that during the re-assembly.
Like so many of my topics, this is too big to fit into one post, so I'll continue this later on. At this point, the old radiator is completely removed and stripped bare. Thanks, as always, for following along,
No comments:
Post a Comment