Back to the Directions
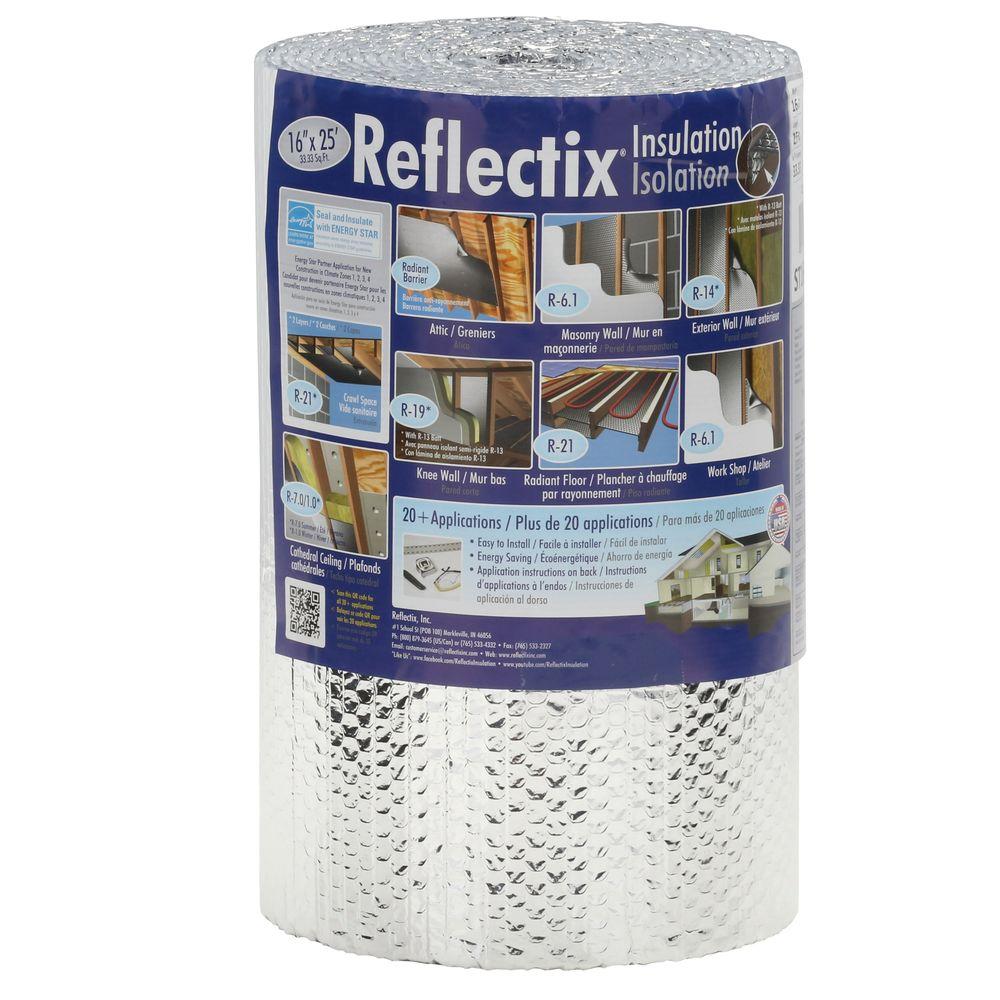
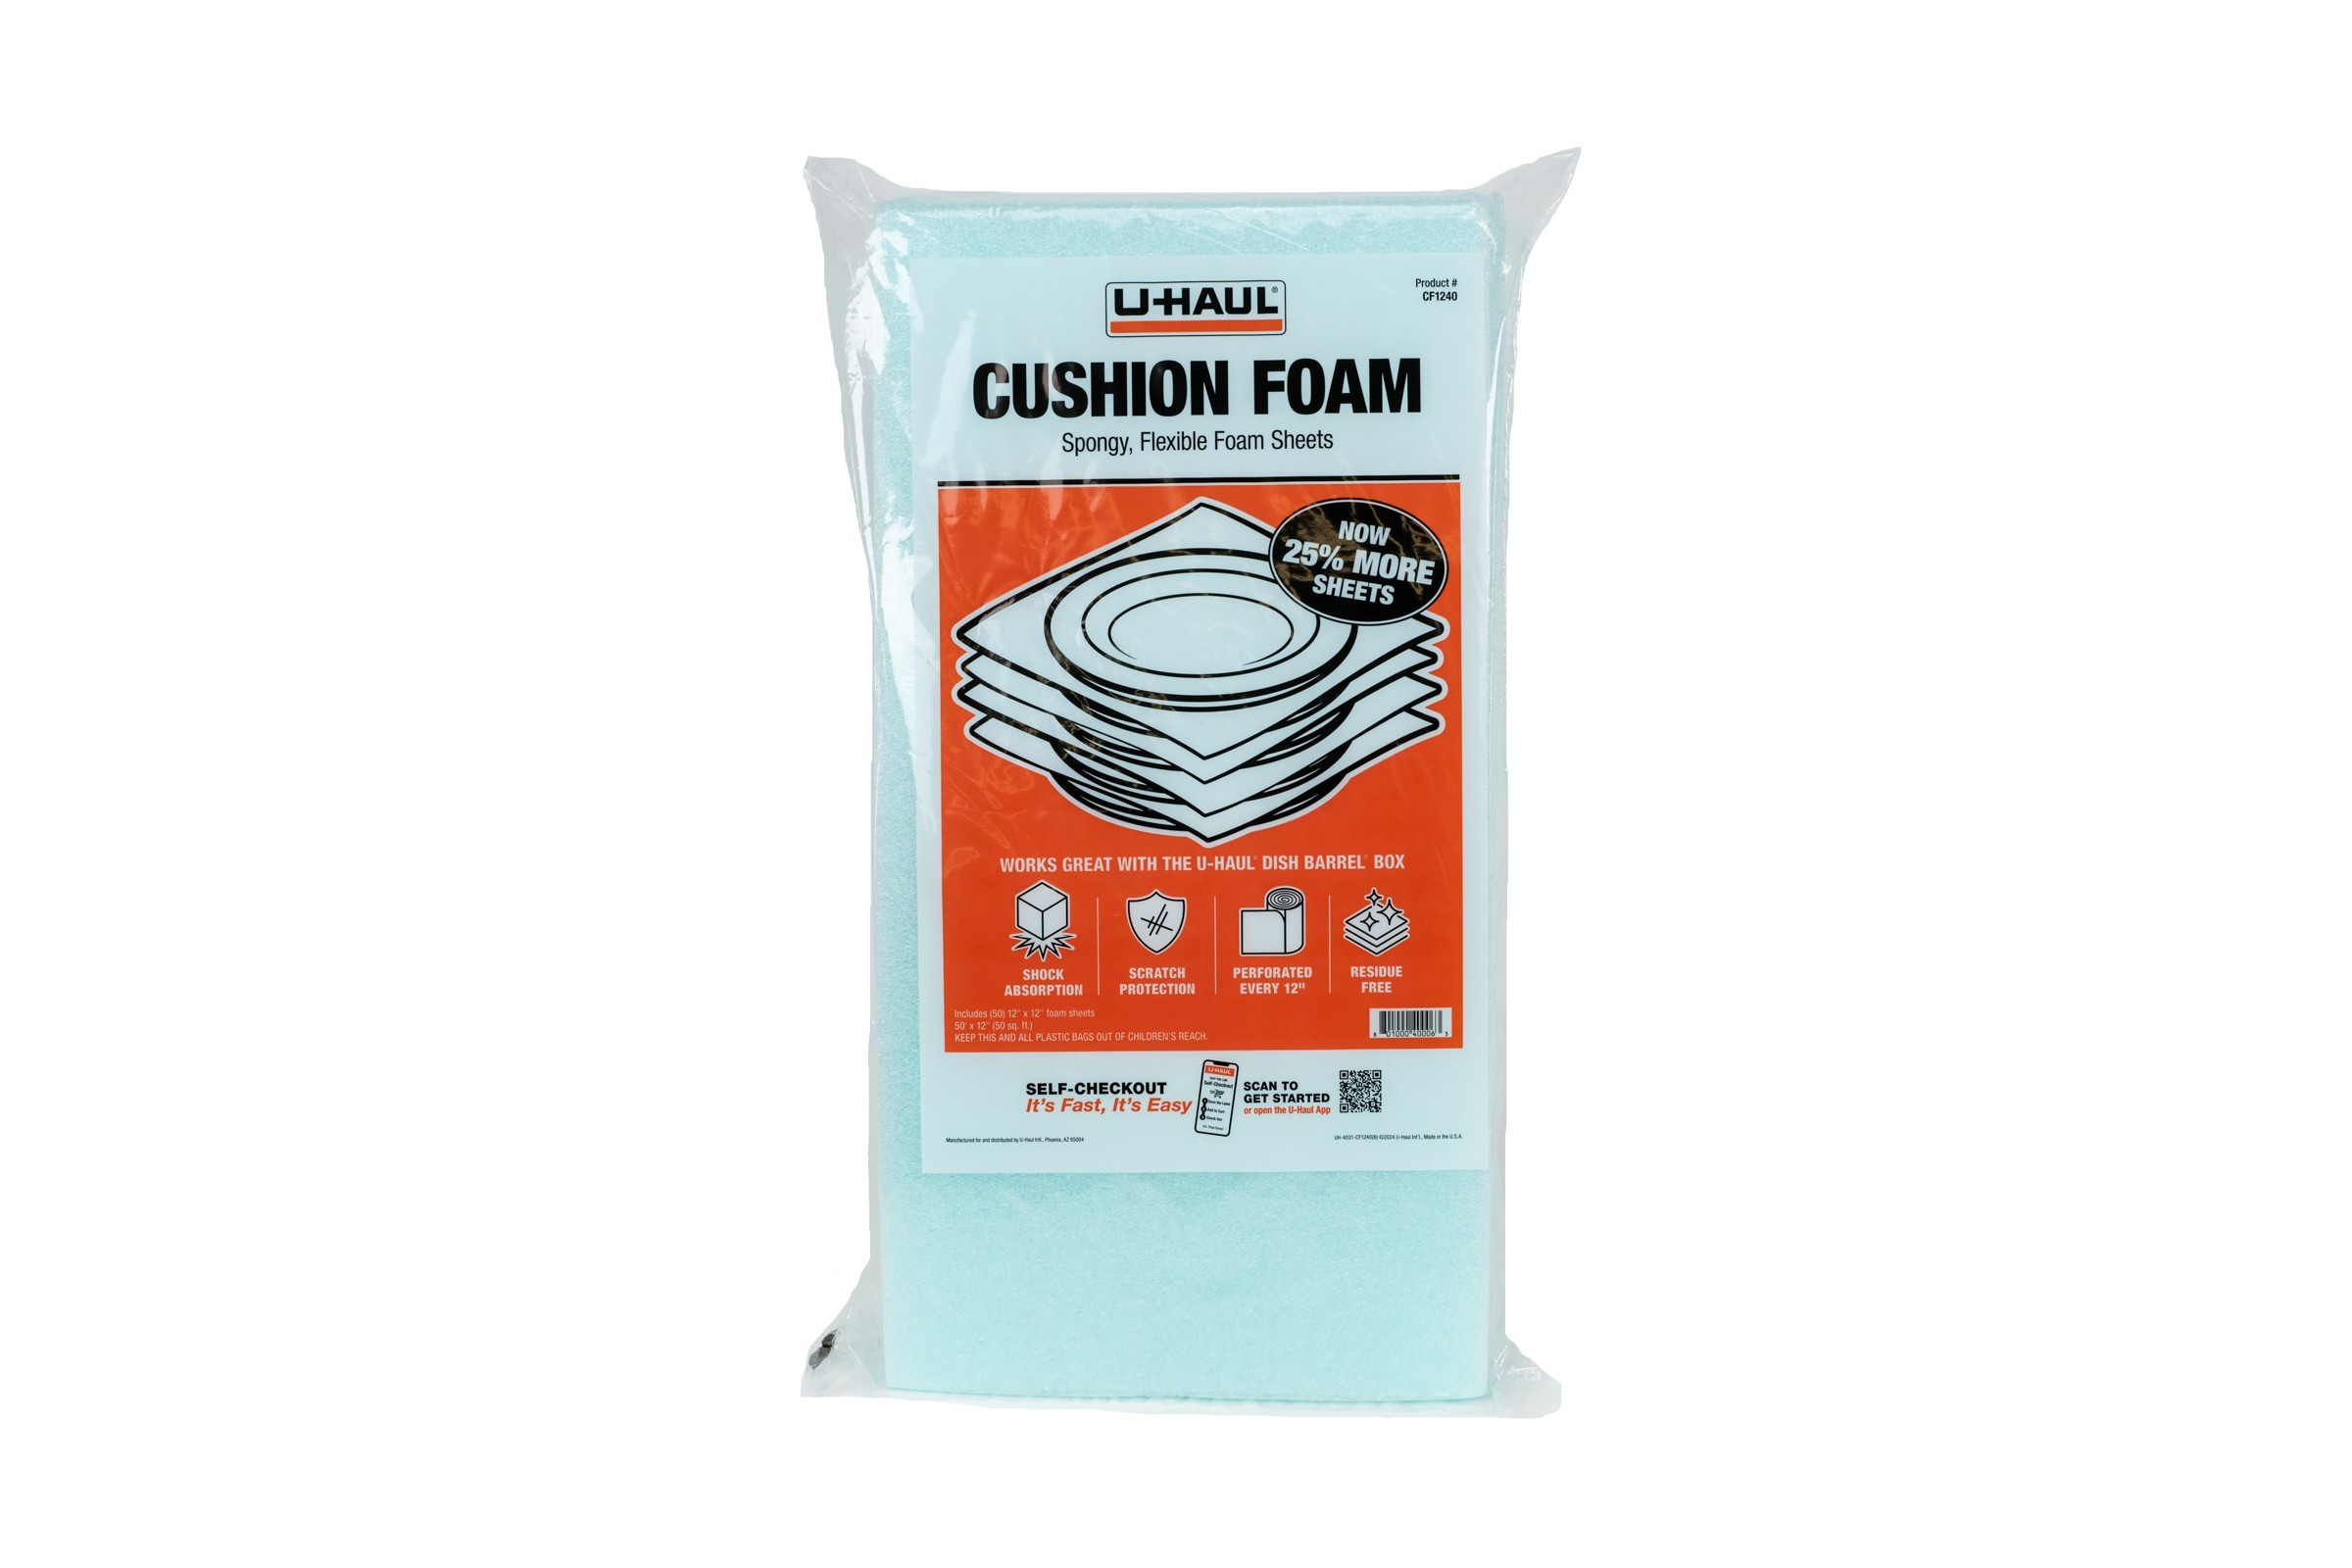
 For the install, I followed the directions for the order which carpet first, second, etc. For each piece of carpet, I had something to go under it (except the transmission tunnel). For each piece which directed gluing straight to steel, I would test fit the insulation, then test fit with insulation and carpet. If necessary, I would trim the insulation a little bit so it wasn't visible. Then, I'd spray epoxy onto the insulation and install it, holding it in-place for a 30-count or longer. Then, I'd test fit the carpet on top of the glued-down insulation, then epoxy it into place by spraying epoxy onto the carpet underside. Remember to let the epoxy set-up a little bit before slapping the things together. Wet won't hold; it needs to tack-up a little bit: spray the underside well away from the car, let it set up for 15-30 seconds and then apply in-place. If you, the reader, are looking at this for guidance, take care with the transmission tunnel carpet. I realized after mine was in that a shifter cover plate hadn't been put back in, so I needed to cut a small line in my carpet in front of the shifter to enable that re-install. Since it will live under a console, it doesn't really matter, but I really don't like cutting when I don't need to. Honestly, it is really hard to tell that the carpet was cut there now even without the console.
No Glue, But No Snaps
 The carpets that sit on the floor under the persons in the car and the piece on the back deck are not glued in. Instead, they were held in place with snaps from the factory. Since I replaced my floors, many of the old snaps were gone. I had a decision to make: install the snaps or try something else. Knowing that the snaps had to be in exactly the right place for them to align with the snaps in the carpets, or there would be lumps in my brand new carpet, I decided to not install snaps. But, I needed something to hold the floor mat especially under the driver's feet. Otherwise, it could slide around under the pedals making for a dangerous driving condition. I found Velcro at Ace Hardware that was designed for wet conditions and it could hold up to 30 pounds. Since we just need to hold carpet, this felt like a good way to go. I cut sections out of the insulation, glued the Velcro to the underside of the carpet and corresponding spot on the floor. Now, the carpet holds in place, and retains it's original ability to be removed for cleaning and access to drain plugs. And no lumps.
Cutting Holes
 In order to re-install seat belts and the seats, this brand new carpet needs to have holes cut into it. I found this a little hard to embrace at first. Since I was putting insulation under all of the various pieces, though, I could figure out exactly where the hole was supposed to go with something that wasn't carpet and then transfer that spot onto the carpet. This worked well for the sill carpets (that section from the ledge along the bottom of the door to the main floor) where the lower seat belt mount hole is, but greatly complicated an already difficult wheel arch. Fortunately, the transmission tunnel carpet had the holes pre-punched. This made aligning the carpet easier in that respect, but made the overall install of that carpet much more harrowing because everything had to line up perfectly.... with epoxy sprayed on it. Move quickly.
 The last holes to put into the carpets are the holes for the bolts to hold the seat rails. In the MG, each seat is held in with 4 7/16" bolts. The carpets do not ship with the holes pre-punched, so you need to locate them yourself. Not all of these holes pop out the bottom; in fact, only one does. The front 2 pass into a cross-member and one of the rear ones does too, leaving just the one. I started with just the insulation down, and pushed a finish nail up through the one hole. This removed front-back and left-right sliding of the insulation while I located the other holes. These, I found in a more traditional way of folding back the insulation until I could locate the hole, and guestimated where it passed through the insulation. While some holes took more than one try, I located the holes with finish nails, leaving them in the insulation for transfer to the carpet. Taking the insulation to a table, I set the carpet on top of the insulation and pushed the finish nail through the carpet, marking the hole, and then put blue tape on top of the nail to hold the mark. With an exacto-blade, I cut a small "X" at each nail, testing the size with the seat-rail bolt so the hole was only as large as needed to be. With the bolts pushed through the holes in both the carpet and insulation, I could set the carpet in place and then put in the seats.
Seats In

Finishing
I finished out the rough-in by making a small cut in the transmission tunnel carpet and installing the shift plate. I followed my now-usual pattern of soaking the old plate in vinegar for a few days to get the rust off; then, cleaned primed and painted it. The install of the plate was simple: re-use the 3 Phillips screws at the front. I re-used the original shift boot after cleaning it up with some Meguiar's vinyl cleaner just to get the shifter together and looking fairly good. I'll be switching out the shifter boot with the rest of the interior panels and seat covers later. The boot is held down with a new black ring and chrome bolts. The ring and bolts were less than $10US, but that change greatly improved the finished look.
I installed new door rubber seals and the stamped-steel transoms (with new screws) to complete the effort. The ends of rubber seals are held in place with small chrome bits, and otherwise just press onto the lip which runs along the edge of the carpeted sills. The stamped-steel transoms are held on with 6 small screws, and after some polishing, look fairly decent for original pieces.
Now, it looks and sounds like a "real" car. When the doors are shut and windows up, the car purrs. When I stomp on the fast pedal, it has a little roar to it. I still need to put the center console in (for climate control) and it could use a radio, but the little car is about ready to be a daily driver.
Thanks, as always, for following along.