Showing posts with label soft. Show all posts

Tuesday, June 4, 2019

Seasonal Cleaning

Okay, so this won't be a very exciting post, but it's how I spent a weekend. After pulling off the winter car-cover, I couldn't help but notice just how dirty Hapy got over the winter. You'd think, with a cover, he would look pretty much the way he was when the cover went on, but that's just not how it works.

Winter Plan
Moisture gets under that cover. To keep the inside of the bus healthy all winter, I pull the cushions out of the pop top and lay them on top of the seats. This prevents moisture from getting trapped between the cushions and the poptop, or between the cushions and the bed floor. I will usually pull out the extra foam bed mattress and thick blanket from the back deck too, and stow them inside the house. Then, the thin original pad gets partially stood up. Again, this is to keep moisture from getting trapped.
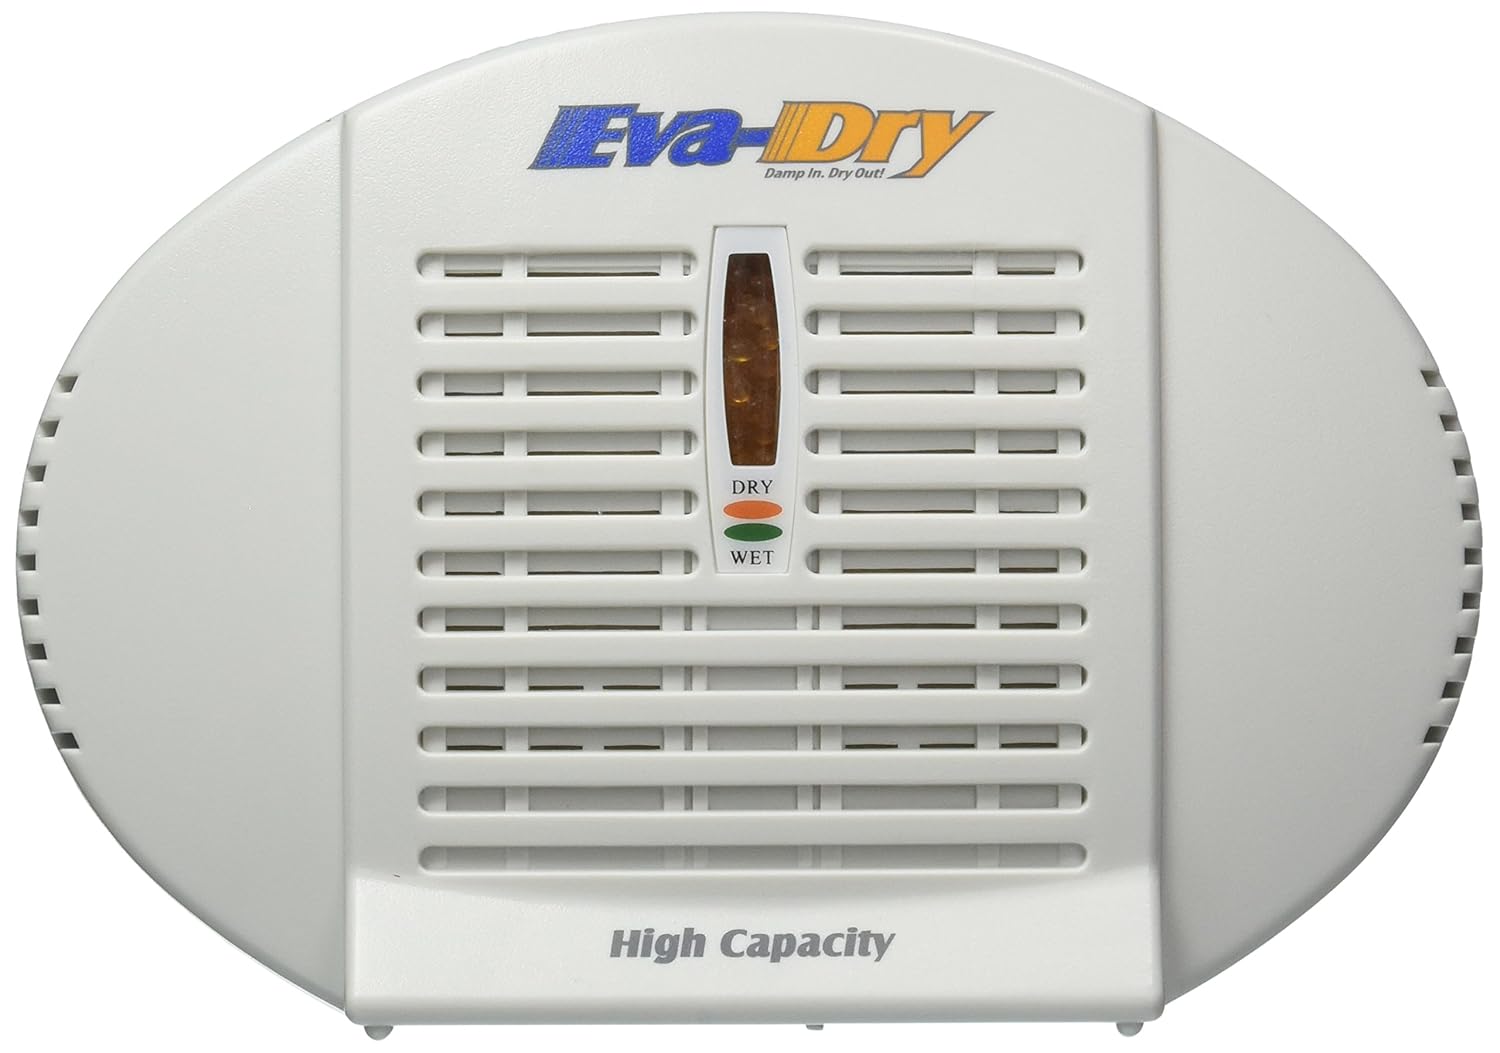
Last, I have a set of rechargeable desiccants I rotate in every couple of weeks. These Eva Dry things (I got a 4-pack of E-500's a few years ago) are pretty clever. You plug them in, and the moisture they collect steams out, turning the little dots from a purple color through pink to blue. It usually takes a few days for it to completely turn, but once that happens, I swap it out with one inside the bus, which I put in the center of the bus, on top of the seat-back of the middle row seat. If I rotate the driers often enough, and if I did the cushions correctly, everything inside is ready for a new season without a big mold effort first.

Spring to Action
The uncover effort starts with little ceremony. I simply wait until it looks like the rainy season is over and pull it off. It takes all of about 5 minutes to go from covering the bus to stowed in it's stuff bag. Next, I'll pop the top up, and check for leaks. Assuming I don't find any, I'll inspect the cushions looking for mildew or mold. As I clear the cushion, it goes back to it's designated spot. Once the inside is in order, I'll put the deep cycle battery on the charger overnight. This year, I was charging the battery while swapping out tires.

With the battery full, it's time for cleaning. As I've said before, television shows about cars do not do the amount of cleaning justice. Seriously. For every few minutes of wrenching time there are hours of cleaning. Otherwise, you're taking a dirty part off another dirty part and then sticking either that same dirty part back on, or installing a new one... on top of that grime. That's silly. So, you clean the parts before you disassemble, clean them when they're apart and then clean them again after they're put together. That's a LOT of cleaning. That only accounts for those parts. At some point, you need to do the typical car owner cleaning. With a bus that has a fiberglass top, "typical" cleaning isn't exactly typical.

Scrub -a- Dub
Every Spring, I clean the pop top outside. I'm not very tall, so I need a 6' ladder on top of the garden hose, a scrubby sponge and a tub of fiberglass shower cleanser. Yeah, that's right: bathroom cleanser. It is gel-coated fiberglass just like your fiberglass shower, so it's the best stuff for getting it clean on the first try. I simply hose off the top with the most powerful setting to get stuck-on stuff off of it. Then, I'll apply cleanser (I use Soft Scrub w/bleach) and scrub with the itchy side of the sponge. I'll work sections that can be easily and safely reached from the ladder. Then, hose that off, hose another section wet, move the ladder and repeat.

With the top cleaned, I switch to more standard car cleanser in a bucket with a car-wash sponge. Then, I wash the pop top again, but this time with the car wash. I think this helps the gel-coat, and it helps to carry away any leftover residue from the bathroom cleanser. Once the top is done, I raise it and then I work my way around the rest of the bus, getting him clean top to bottom. This way, I get the tin-top between the bellows and the drip-rail that is covered by the pop-top when it is down.

Now, with Hapy freshly cleaned, with new tires, and safe brakes as well as all the other fixes since last June's ignition fire debacle, he is ready for a Summer of travel and adventure. We start very soon with a trip to Eugene, followed by our annual trip to 4Peaks. Additionally, we have a camp at Honeyman State Park in August and a return to Eugene for String Cheese in September. We have some home repair plans for July, but I'm hoping we get a weekend away in there somewhere as well. Regardless, there will be many road reports and friends met along the way. Thanks, as always, for following along, and I hope our paths cross in person somewhere along the way.


Tuesday, July 10, 2018

MGB - carpeting (part 1)

Today's post covers getting the carpets into the little British car. Like so many of my posts, this got a little long, so I'm going to cut it into 2 pieces. At least there are lots of pictures this time.

How Did We Get Here
With a top now keeping out the elements, I was ready to install the carpet I had intended to install over a year ago. Recall Winter before last... I had a willing volunteer in K2 wanting to help on the little car. I was up to my elbows in front-end rebuild and couldn't fit a second pair of hands into what I was doing. I thought he could pull the front seats and the carpets (so we could replace them) while I finished the front end. The seller said that the floors were good but just the carpets needed to be replaced. At the time of purchase, I couldn't really see the floors because of shadows or whatever. So, when K2 pulled the carpets out and we saw a rust hole, it lead to a lost Summer of driving the roadster. Instead, we spent weekends cutting and prepping the floors, had a welding party and sealed in the floors. We added paint and noise reducer. Now, we were ready to lay some carpet, so I ordered "standard" set of carpets (versus the expensive wool or deep-pile ones on the market).

Noise and Temperature Containment First
In my years of working on the bus, there has been a steady drumbeat of containing noise. Driving an empty bus is like sitting in a metal shed through a thunderstorm. Its crazy loud. Lots of MG owners like the loud, so what I did at this point may not sit well with them. I don't care. It's my car, so I'll do what I please.

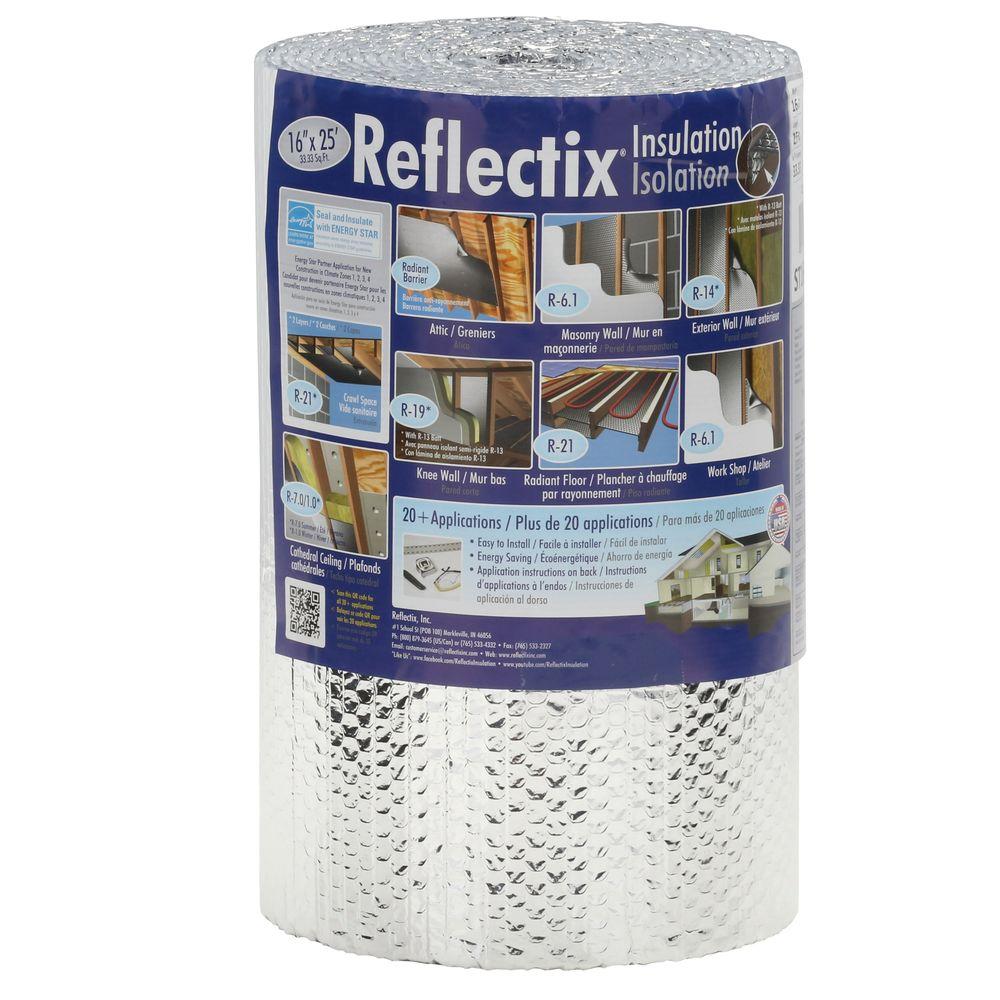
I know from driving this car around that the heat from the engine bay and exhaust heat up the interior, even without a top. While this might be nice in the winter, it's not so great in mid-Summer. To reduce heat, I chose to put closed cell foil-sided insulation (like this) behind the carpet sections in the footwells as well as under the driver and passenger seats. This should reduce both heat and noise. But I didn't stop there.

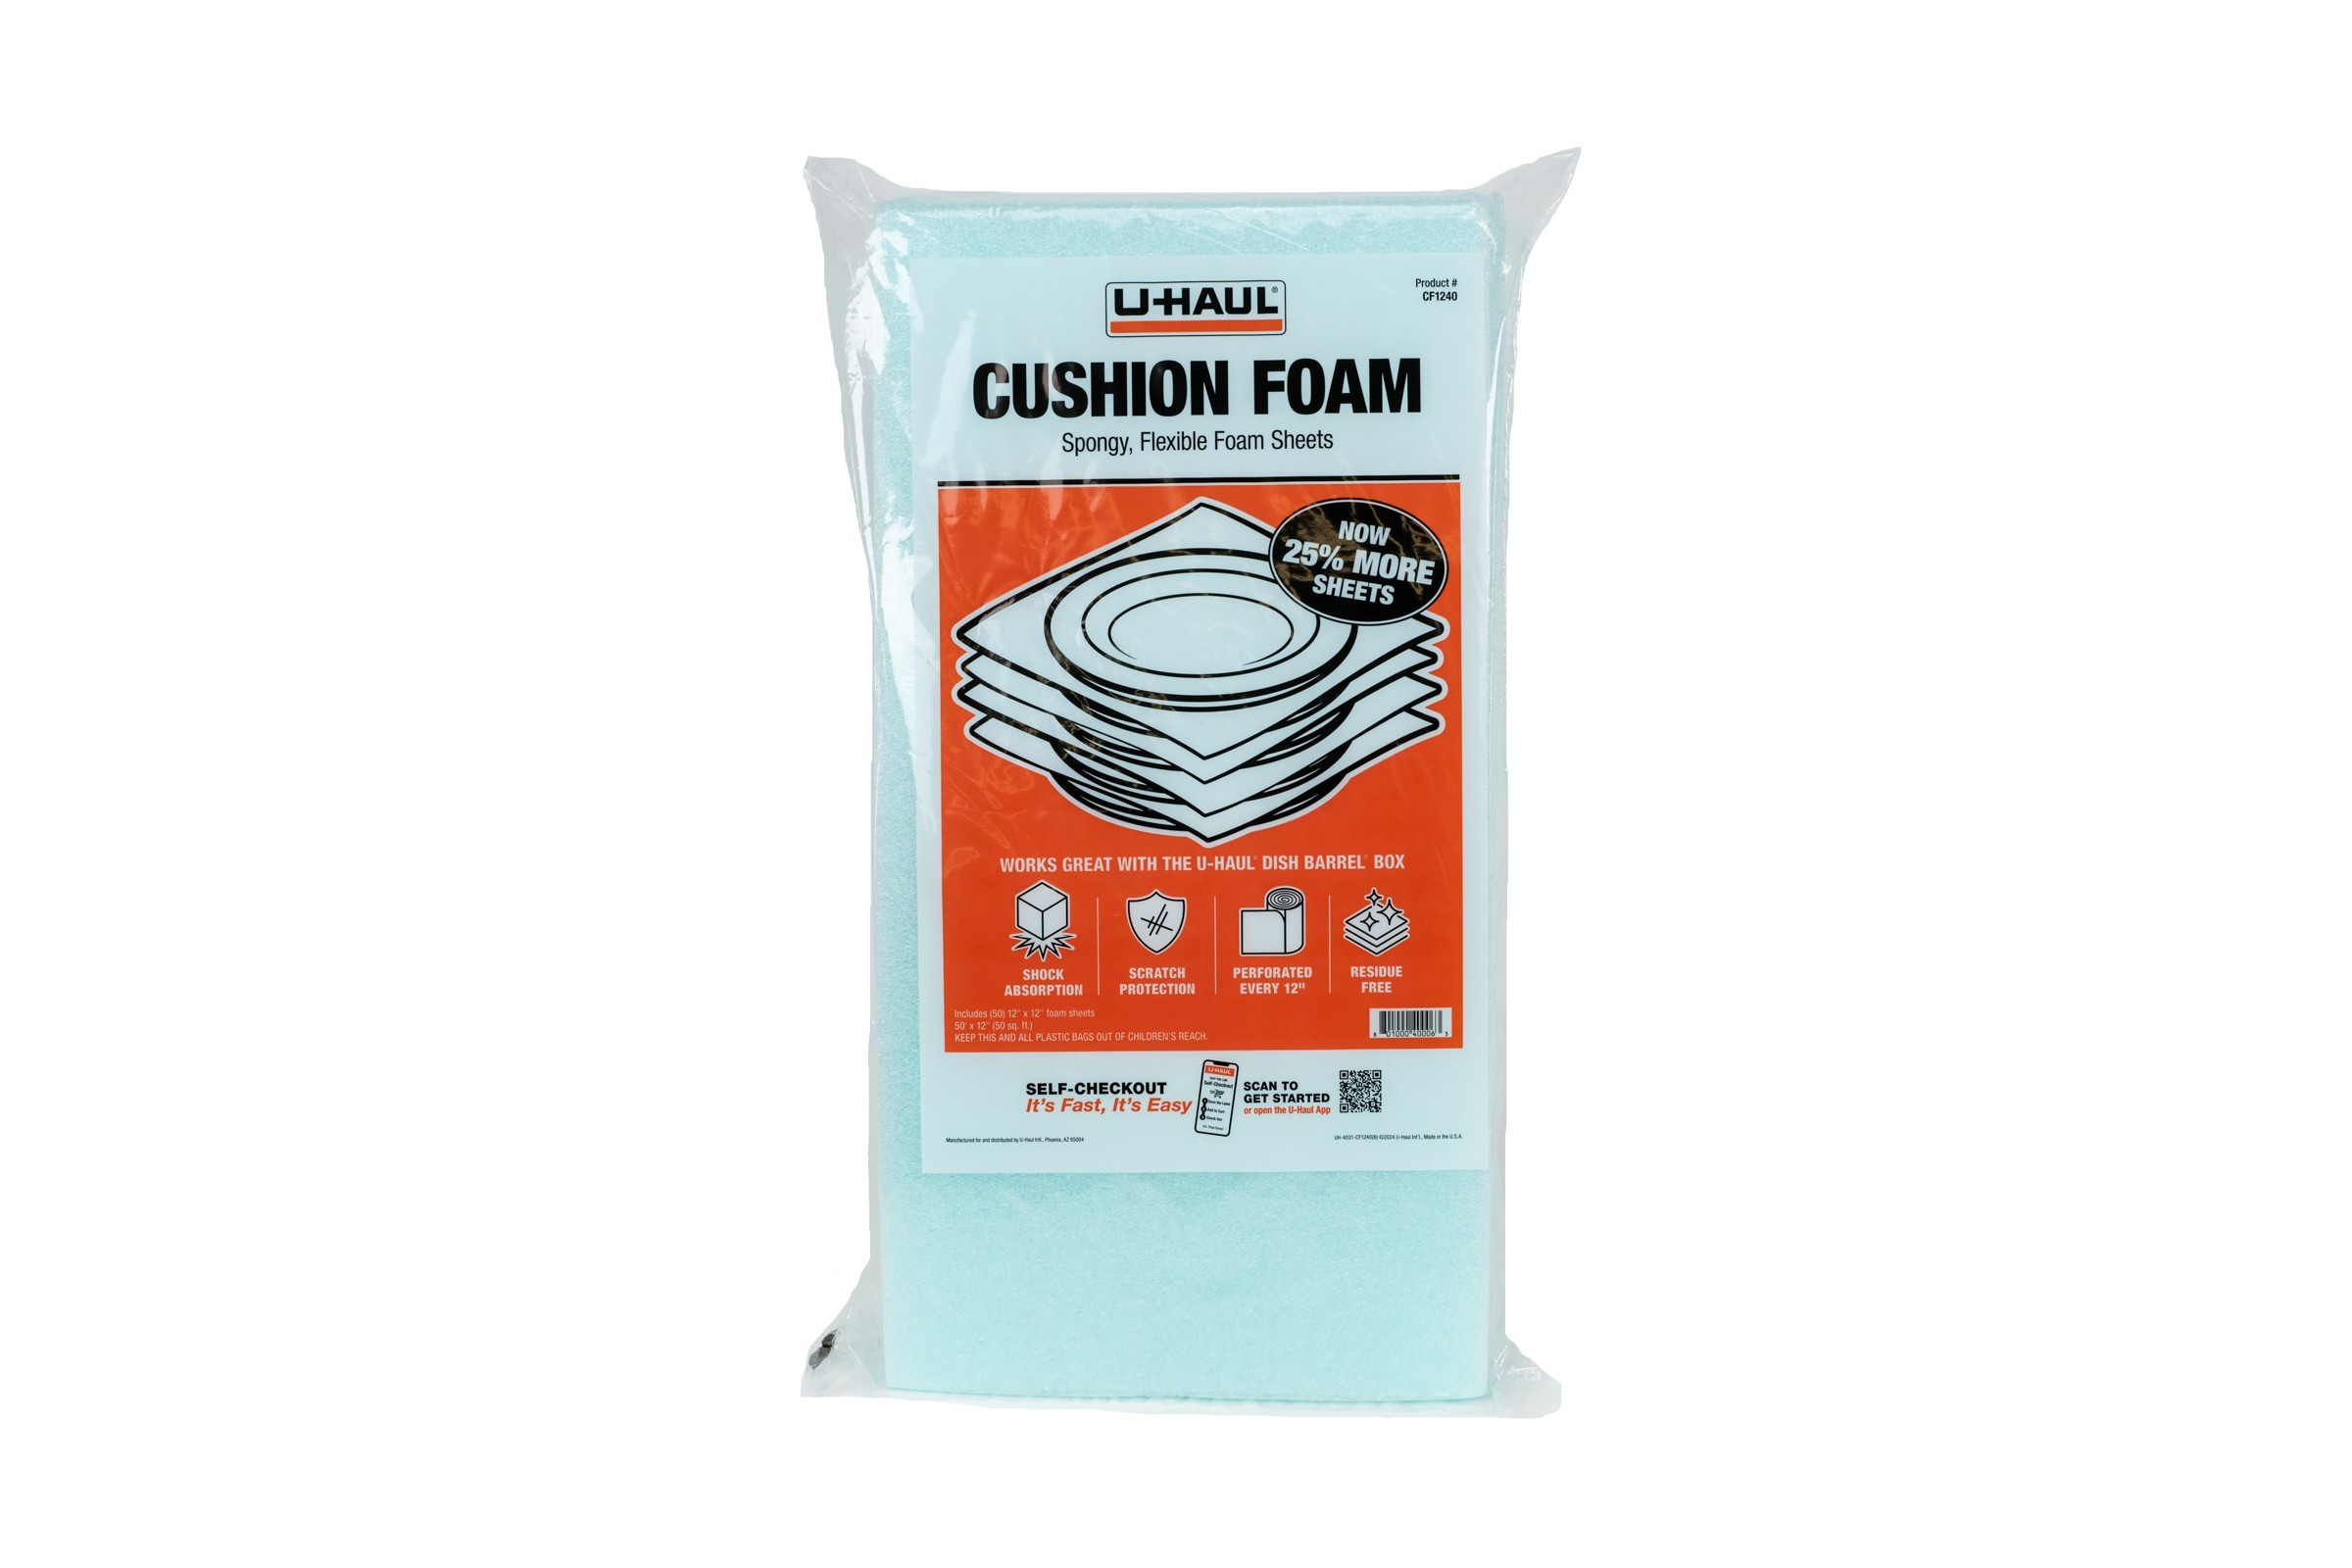
Except for the carpet over the rear shelf and the carpet on the main floor, the carpet is supposed to be glued directly to the steel. This includes the very front of the footwells, the sills, the rear wheel arches, etc. As I said earlier, I put that closed cell foil-backed insulation in the footwells and under the floor carpets. I wanted to add some additional soft to the other carpeted areas both for noise and for carpet depth when touched. The foil-sided insulation was too thick in the other areas, and I wasn't looking for temperature containment anyway, so I got some 3/32" closed-cell packing sheets from UHaul (like this). You wouldn't think it would make much of a difference, but simply tapping the steel with and without the foam was significantly different. These sheets are closed foam, so they don't absorb water and are very malleable.

Whether I was using the foil-backed or the UHaul foam, I used the carpet piece as a guide, traced it onto the planned under-layment and then cut with sharp shears. In some cases, I further trimmed the insulation to it wouldn't be visible after carpet was on top of it. I put some form of insulation under every piece of carpet except the transmission tunnel. I know the tunnel gets warm and I didn't know how the packing foam was going to perform with the heat. I wasn't sure how the carpet would appear on top of the foil-backed insulation, and whether the console would sit properly on top of it. Since that is the most visible section of carpet, and I'm not sure if I'm even going to install the full center console, I installed that section of carpet as directed: directly on top of the steel.

That's it for this part of the post. As you can see from the picture below, the cat continues to prove that he's a real shop-kitty, getting into whatever project we have going on. Of course, his help comes in the form of bringing work to a complete stop, but he's a cat. That's about all you can expect. Well, he could sit down right in the middle of the work; yes, he does that too. Thanks for following along, and I'll finish this up next time-