Short answer: no one. Today's post is about managing around that unstoppable rain that appears every autumn in the Pacific Northwest.
Before I begin, my parents have been experiencing health issues and appear to be entering their last chapter with us. My musings here have not included them much, but my son T and I moved them here 12 or 15 years ago from the Boston area. They have been a consistent presence in our lives ever since, especially for Boo. Their recent health decline started almost immediately after we signed the paperwork on the NewOldHouse. Accordingly, our time has been split between tending to them and the NewOldHouse projects. Boo and I have also hosted various family members who travel into town for well-wishing and visiting the folks. If you were wondering why we were moving so slowly, these factors are certainly part of it. In truth, the time spent doing something on the house is a welcome respite from the near-constant gravity we feel as we watch their final days approach. We welcome your prayers (in whatever form that takes for you), and encourage you to connect with your elders, or your youngers, if even just for a few minutes.
UPDATE.... I wrote this entry on Thursday (3-November), and my dad's health took a nosedive almost immediately afterwards. My family members who are not local rushed to Oregon on Friday, and we said our final goodbye to my dad on Saturday (5-November). A week earlier, Dad and I were sitting around talking to T about his life in LA. Time really can be unpredictable.
On to dodging the rain-
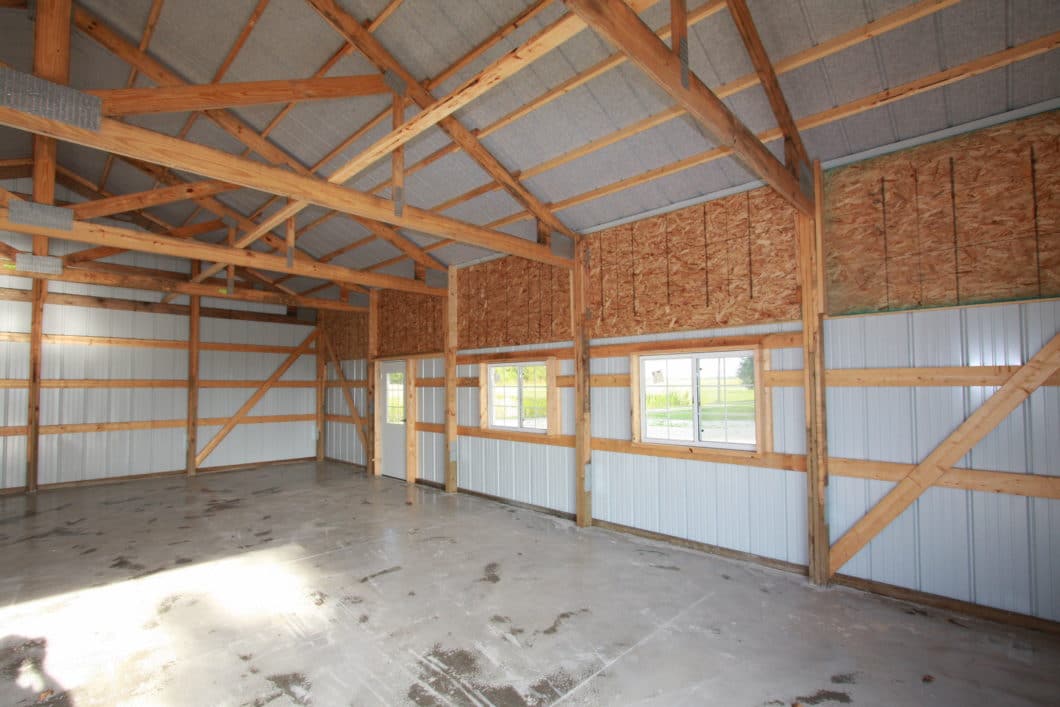
Garage Coveting
 |
| one can dream |
I have been working on a fleet of cars without a meaningful garage, much less a shop, pretty much since I started this blog. The house we have been in for the last 6 years, much like the house we were in for the 3 years before that, has a basic 2-car garage. Prior to that, we were in a condo with no garage at all. Unlike the last house, this 2-car garage really is too small to fit a car any larger than an English compact (Mini, MG, eg). So, the only car that has been parked in the garage for a meaningful duration has been Oliver, the 1978 MGB. For a short stretch, Zed, the 1979 280ZX sat in the other bay. Zed is wider than Oliver, and that other bay is where all of my shelving of parts and tools was, so actually working on anything became impossible. So, I worked on cars in the driveway, and when it rained, I worked in the rain. When it was 95* with a blasting sun, I set up a small shade, but generally worked in the heat. So, a couple of years ago, we got those canopies for the driveway. These were absolutely heaven-sent, allowing me to clown on cars out of the worst of the weather extremes nearly year-round.
NewOldHouse has an original, attached, single-car garage with the original door. That door alone, is pretty cool in that it has cables and pulleys connecting to a large counter-weight to help you open and close the door. Regardless of the cool factor, only one car can fit, and after asking Boo to park in the rain for 9 years while I took up the indoor spots and the canopied area, that one garage spot needs to be hers for the next 9 years. Or longer.
Sheds and Canopies
 |
| the "fourth" canopy |
The NewOldHouse came with 2 chicken shacks, that I mentioned last time. One of them will hold my parts and tools. The sheds lock, and at 8 feet wide by 12 feet deep, plus nearly 10 feet tall at the peak, they are large sheds. Some of the tool-shed floor needs repair, but that's a weekend day of work. Otherwise, it's clean enough, and after I shoot the interior with Kilz and then basic white paint, it will feel like an entirely different space.
But, what about the cars? I have too many of them, yes, but I still need to keep them in fairly good shape, and not let them rust out from below nor get rained on all winter. To remedy, I started by moving the 2 canopies around and behind NewOldHouse. Under the one closest to the house, I parked Zed. The one next to it is dedicated to the car I am working on other than Zed. For now, that will be Nemo, I think, to get the passenger window regulator replaced, the power steering working and maybe add a stereo. To compliment these 2 canopies, I bought 2 more ($140US each at Harbor Freight), and assembled them nose-to-rear adjacent to the side of the first 2. The furthest of these canopies is now 40 feet from the house, and will protect Oliver from the rain. For a floor, we got gray tarps, again, from Harbor Freight. These will act like a vapor barrier, keeping the wet ground from encouraging rust from below. Because rain doesn't come straight down, I will need to get out there with a squeegee after rain storms to keep the water from pooling under things.
The fourth canopy (between the old and new canopy) is set up outside the shed, and will be my staging ground for parts from the old garage. I expect to spend a few weekends this winter simply going through parts, sorting them by vehicle and purpose so I can find things more easily. After getting that tool cabinet (See
$50 Tool Chest), and sorting my tools, I was stunned by how much faster I was able to work simply because I could find the tool I needed so much faster. I figure if I can do the same for my parts, I could see a similar improvement.
At some point, these canopies will correlate to work bays. Rather than number them, and accidentally create some kind of priority or pecking order, I have named them after my Grateful Dead heroes: Jerry, Phil, Pigpen and Bob, from nearest the house to furthest from.
Downspouts and Diverters
 |
| spider legs, right |
I mentioned the foundation vents being below grade, and some of my efforts to resolve for water getting into the crawlspace (basically digging out around them) in my
Vehicular Paperwork post. Part of the below-grade problem is the location of the downspouts and the fact that they, like so much of the rest of the house, are original to 1948. Back then, houses did not have their downspouts connected to a central sewer system; they simply dumped water on the ground next to your foundation. If the ground is higher than the vent, then that water dumps into your crawlspace or basement. Neat. To remedy, Boo and I got a few box-style diverters (like
this) which have a square catch bin that you set under the downspout. Attached to the side of the catch bin is a 8-foot long, 2-inch diameter flexible hose that you route away from your house. We did this for the downspouts which dumped near a vent. For the remaining downspouts, we used old-skool technology: a simple u-channel style diverter (like
this) that you set on the ground under the downspout and the water runs down the u-channel to the other end, moving the contact point of water-to-dirt 2 feet or so further away from your foundation.
 |
| new canopies |
We tried a few other things before landing on these solutions. We tried digging ditches for the water to follow. It wouldn't. Then, we tried flexible hosing attached to the end of the downspouts. Those worked, sort of, but we needed to gang a few together to get the water far enough away from the vents. And, they were white, so from a distance, it looked like the house had grown spider legs.
The day after we installed the linked diverters, we got almost 1/2 an inch of rain. While the rain was its most intense, we were at the house, and looked at how the diverters performed. They handled the volume easily, routing the water well away from the house. The below-grade foundation vents remained completely dry. While I still intend to do something to protect those vents from water entry, I don't feel like that is an emergency any longer.
That's it for today. Thanks, as always, for following along-


