Radiator
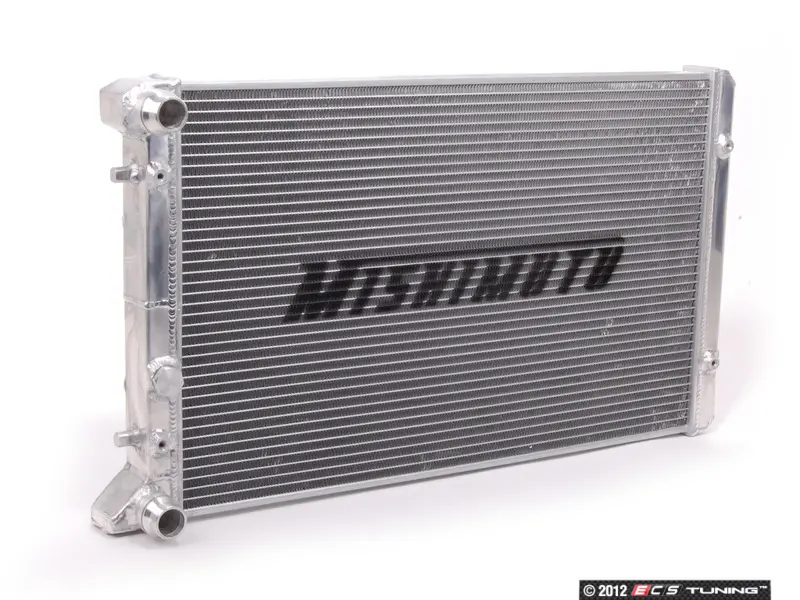
On the rear, simple individual brackets were formed for each of the 2 mount holes on the radiator. Each bracket had an eyehook added, similar to the front bar. From the 4 eyehooks, the radiator would hang from the underside of the bus. I used 400# test chain to hold the radiator, and placed it at an angle (front about 4" lower than the rear) so the exhaust heat would be encouraged to vent down-and-rearwards and so that the leading edge of the radiator might scoop some air as it passed beneath. Corresponding eyehooks were added to the frame under the center of the bus, and the chains have threaded carabiners on the ends for ease of connecting / servicing. See rad brackets continued and Radiator test-fitted for more details.
To discourage hot air from recycling into the intake side of the radiator, I cut and attached some sides to the radiator unit with some thin zinc-coated sheet metal used as cold-air return material in houses (See Radiator Shrouded). Underneath, I attached an aftermarket fan:cowling to maximize the suction of the fans drawing air through the radiator (See Cowling the Hapy Radiator). For more details, See Radiator Installed, Back to the Bus Rad Swap 1 and 2.
I have not experimented with lowering the radiator beyond it's current height of about 9" above the ground. I had ideas of adding a scoop to the leading edge bar, or adding a means of lowering the radiator with a lever or something, but the bus now runs cool enough without added complexity. If that changes, those options remain.
I know there are some who will read this and not accept that an under-belly radiator is sufficient. Consider that the Aussies are doing it, and were doing it well before I started my project. They have super-hot, dusty conditions and they drive their under-belly conversions in the outback. So, some gravel from the road or a mid-western summer are not really the factors we may fear them to be. After 10 years, these have not influenced the cooling at all. The keys to keeping the temperature controlled are getting the exhaust air away and getting air to draw through the radiator through cowling and fan suction.
Overflow Bottle
Hoses
Unlike the inter-cooler and vacuum, the cooling system left only a few pieces I could re-use. The runs to/from the radiator were solved with multiple 2' long Goodyear flexible hoses fitted together with metal connectors. These flexible hoses satisfied the run from the engine bay to the radiator, but within the engine compartment, there were other considerations. For example, the outlet from the thermostat housing exits the engine pointing at the passenger-side rear wheel. This needs a 90* downward bend, so I used a short piece of original hose, and mated the bend to the flexible hose with a metal joiner that included a small (1/2") "T" which I routed to a bleeder. I have used this bleeder to get air out of the system while filling with coolant many times. The run from the outlet flange also points to the passenger side, and it needs to include a temperature sensor. So, again, there is a mix/match of TDI hose, a piece of TDI plastic holding a sensor and the flexible hose.
I omitted the EGR, so the plumbing around the EGR needed to be eliminated as well. This actually simplified some of the paths. Last, there was the coolant line run to the overflow bottle.
Extras
 |
| nicked from TDI-club |
V6 4motion Passat
028117021E OIL COOLER (should come with upper gasket)
038117061 LOWER COVER TO OIL COOLER WITH SEAL
*I believe the original lower cover will fit, but I'm not 100% sure
late model
038117021B OIL COOLER
038117061 LOWER COVER TO OIL COOLER WITH SEAL
038117070B SEAL
Heater
 |
| image nicked from theSamba |
I have considered adding an aftermarket heater closer to the front of the bus, and running longer coolant lines to support it. The long air hose system was slow to respond because the air in the hose needs to warm up or cool down before you can feel the change. That's the beauty of the modern systems: no air hoses. The coolant, however, could cool off before it gets to the front of the bus, and there are would be a need for a bleeder, etc. so this isn't exactly perfect either. So, as much as this is a retrospective, some things clearly aren't really done.
De-Scale
Regardless of what you do, if your engine isn't new, and you don't really know how well it was maintained by the prior owner, it might be wise to de-scale it before you consider your system complete. I ran a Thoroflush procedure and that made a massive difference in the bus' ability to ditch heat. Check out the Now Water-COOLED post for some more detail.
Prior related posts:
Preparation
Fuel System
Physical Mounting
Vacuum System
Air, Inter-cooler and Exhaust
Primary Electrical
Next related posts:
Secondary Electrical
ECU, dashpod and Sensors
No comments:
Post a Comment