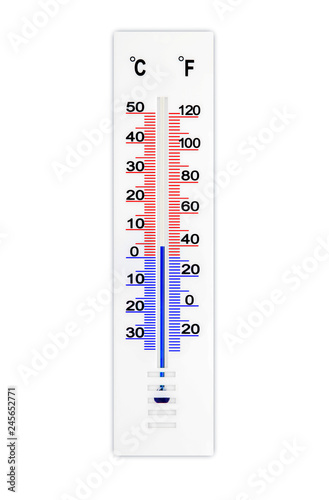
Looking Up at 40F (4C)
Yes, it is still cold. It is December, after all. Now that Thanksgiving is behind us, the holiday music can come out in full force. Meanwhile, I'm dreaming of a not-rat's-nest wiring set up. Though, I suppose, a white Christmas would be pretty great too. We start with getting the wiring up front completely tidied up. I wrapped the exposed wires from the cable with 1/2" plastic wire wrap so it remains one cable almost all the way to the ignition switch. I split off the 6 wires for the accelerator pedal from the main bundle in front of the hand brake (front is front), and wrapped that in another plastic wrap. I ran that bundle behind the accelerator pedal support down to the pedal assembly. I then fed the excess cable down through the floor, leaving a little slack in the cable, but only just a little. The work in the cab is basically done for now.
Underneath
At this point, I slid under the front end and started sending cable back towards the rear. I was only able to get about midway before the original wire clump started to become a problem. See, I reused many of the same pass-throughs that I had used 10 years ago, and pushing the cable back against these wires was really not happening. So, recognizing that the old wires are no longer needed, I removed them. Unfortunately, they were taped to the 4-wire bundle for the brake switch, so I needed to remove that bundle as well. I wasn't using that circuit anyway: it only serves to notify the ECU that the brake has been pressed so turn off cruise control. I am obviously not using cruise control, so all of those wires go. I cleared wires all the way back to the spare-tire well, and confirmed the wire colors on the accelerator pedal circuit: they match. So, while the plug changed after the 1998 New Beetle TDI implementation, the wire colors didn't. Neat.
Lower Rat Nest Tear Down
 |
| Original outlet flange |
Research Again
It has been 10 years since I really looked at this wiring. Fortunately, TheSamba contributor AndyBees sent me a tome of wiring knowledge back then, and since I did not meaningfully stray from his work it will very much help me now. I barely scratched the surface of this documentation when I first did this install, though I did keep it in a 3-ring binder, with the other bus books in Hapy. 10 years ago, my goal was to just get it working and then I planned to circle-back and improve / clean it up. Well, after years of wrestling with the coolant (first leaks, then overheating) and then needing a break from the bus (hence, Oliver, the 1978 MGB), I'm only now getting to this. Based on a few hours of study, I expect I will be able to significantly reduce the remaining wiring. For example, I still have relays and wiring related to the radiator fan controls, even though I have those fans on a dashboard switch. And, of course, I will not be doing cruise control. There will be other discoveries as I go.
This is as far as I've gotten. My next steps are to start eliminating wiring related to functionality I am not going to retain (cruise control, etc). Since Hapy is outside/carported, this may take a while as I wait for nicer (read: warmer) days. We usually get a 50F/10C-degree day here and there. Since Hapy is blocking the garage bay where Oliver is parked, I may get my wrenching fix with some little projects on him when the weather is too cold to play with Hapy. Time, or more like weather, will tell. Thanks, as always for following along. Please stay isolated, and wear your mask / wash your hands when you can't.


No comments:
Post a Comment