Over ten years ago, I purchased and installed the Riviera pop top, bed and luggage tub. In an Agile-like spirit, some of the steps I took were good enough to demonstrate the feature, but not great for the long haul. Today, I re-approach the luggage tub.
Why Now?
 |
| finished work |
Ceiling Repairs
I mentioned that there were ceiling seal issues. Consider that the hinges and the front-center latch for the original 1972 Westfalia pop-top attach to the top of the bus above the front seats. These are mounted by passing bolts through the ceiling and then threading into some flashing which have embedded nuts. The bolts had been removed, or broke off, but the leaks were coming from where the flashing/nut bit touched the ceiling. These had broken down over the last 10 years and were weeping. So, I removed the flashing, the nuts, and anything else remaining related to the old pop top mechanisms, leaving six holes.
 |
| cleaning under the luggage tub |
 |
| heat shrink before/after |
Tub Cleanup
The luggage tub needed it's own help. The rack bars were starting to show some rust, and one of them had become disconnected at one end. 10 years ago, when I initially installed the tub, I quick painted it with the white Rustoleum and attached it to the top with 4 long wood-screws. I had completely forgotten I had done that, but it had held on without issue. To my surprise, all 4 screws threaded right out of the metal top when I went to remove the tub. These holes served as the starting point for the more robust mounting I did later.
 |
| doing the doing |
Before I bolted (rather than rivet'd) the now-rust-protected-and-white bars back to the tub (M4 hex bolts), I tried 3/4" inner-diameter clear PVC/Vinyl tubing onto the round part of the bar. I thought this might help the paint last a little longer as well as soften the rack for things placed onto it. Unfortunately, the tube is just a shade too loose. I did not want moisture to wick underneath, and the gaps at the ends just didn't look that great. So, I pulled that off and used 3/4" inner-diameter clear heat-shrink instead. I warmed it carefully with a propane torch, just enough to engage the shrink and have it snug up on the bar. The picture above on the right shows how well the heat shrink sealed the bars. Honestly, FlexSeal probably could have done the same thing.
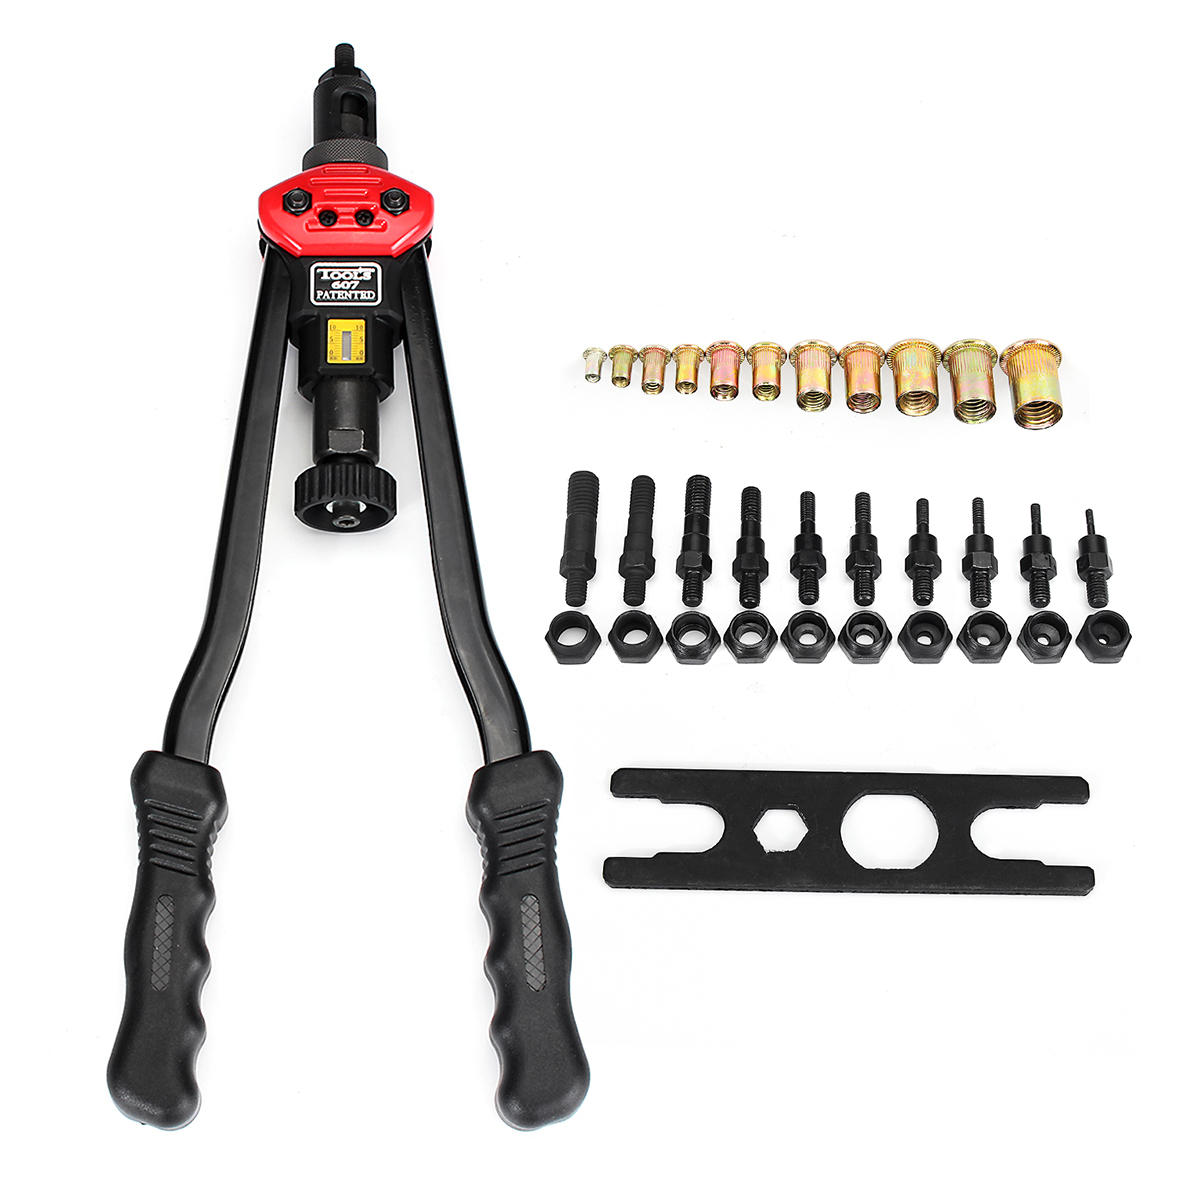 |
| riv-nut tool set |
Keeping with the whole noise reduction thing, I added some Noico to the hidden inside of the tub. I figured that it would reduce the vibration noise a little bit. Similar to the effect of adding this stuff to metal, the sound from tapping on the fiberglass changed to a much deeper note after the Noico was added. There is no way to know if this helped at all, but it seemed at least a little logical. The addition of the Noico added maybe a couple of pounds to the luggage tub, but if the noise on the highway is meaningfully reduced, this could be a contributing factor. Something is increasing the noise once we get up above 50mph, and since the luggage tub is right above our heads, it is a reasonably assumed source.
The last thing I did before installing the tub, I added a white pinch-edging around the outer edge. Originally, the Riviera pop-top shipped with a white edging like this. When I purchased this top, it did not have one. I don't think it really does much other than dress the edge a little bit. I could reduce some vibration transmission into the roof from the wind-whip at higher speeds, though. Again, like with the addition of the Noico on the underside of the tub, I'll take every fraction of a decibel reduction I can get. For those thinking of doing this to their luggage tub, it took 15 feet of piping. I had purchased 30 feet, thinking that woudl be enough to do the luggage tub and the pop-top. Clearly my guestimates were way off. I'll need to get more to do the pop-top, and I have enough left over for someone else to do just their tub.
Tub Install
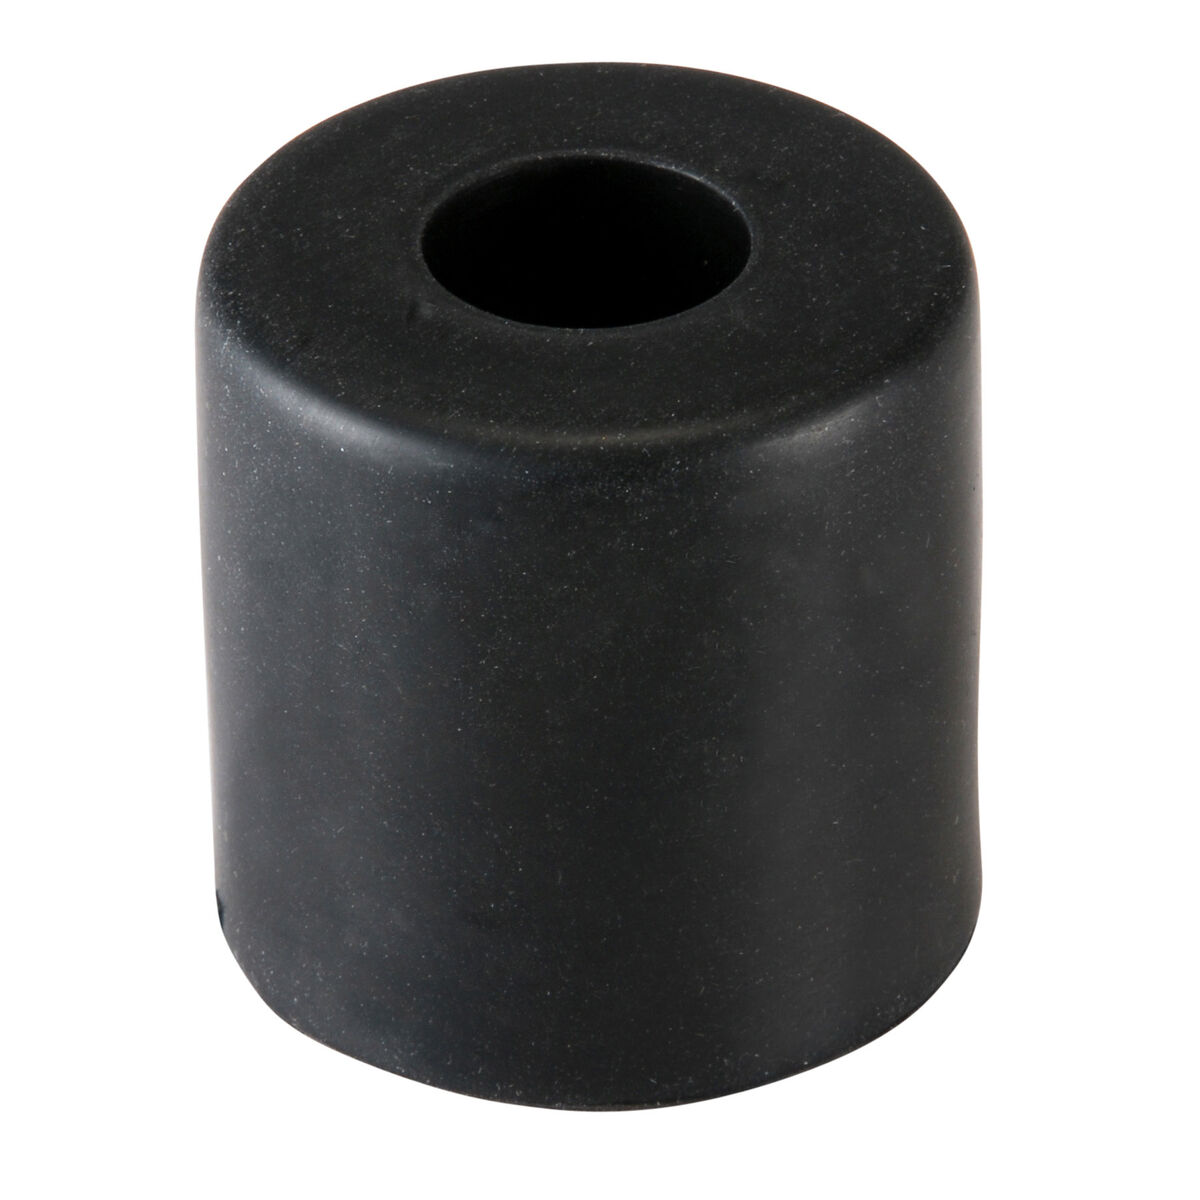 |
| parts-express foot |
I drilled out the old mounting holes large enough for the M5 riv-nut to fit. I applied the riv-nut from below: Since the riv-nut has a flush side (side where it is installed from) and a sticks-out side, it would be better for the sticks-out side not to be pointing down towards my head. As you can see from the stock picture of the foot, one end is wide, allowing the sticks-out side of the riv-nut a ready-made home inside.
 |
| view with the edging |
This whole affair became an incredible time consumer that I did not plan for. Once I saw the holes, I had to solve. Of course, I did not have to repaint the tub/top, nor swap out the cleats, replace the pop-rivets with stainless hardware, etc. This finished product looks better, will work better and is set up for seasonal maintenance. Which prompts me to encourage you to consider when was the last time you removed any of the plastic bits off your ride to clean up accumulated organic material. Your paint, and perhaps the integrity of your ride, will thank you.
Well, that's it for today. Thanks, as always, for following along-
No comments:
Post a Comment