Head Unit Physical Mounting
You know how when you swap out a big car stereo (a double-din) for a smaller one (single-din) you usually install one of those plastic boxes in the extra hole? Well, I had one of those box/bin things in my garage, and it had been there for a few years. So, I figured I'd put it to use. Shortly before we left for 4Peaks, I stuffed it into the radio hole in Hapy. On the drive and while at 4Peaks, we loved the extra storage spot. On the drive, it was where we put our phones. While we slept, we put valuables there. So, I didn't want to remove it to put in a stereo. Honestly, it was jammed in there so hard, I'm not sure I could get it out without destroying it anyway. AND, there was nothing in that are to physically attach a stereo to anyway. The old DarkStar stereo was held on from the front. Modern stereos need something to attach a rectangular channel to, and there was nothing there in the bus to bolt it to. So, I popped it into the glovebox instead. It still needs a real mounting, but for version 1, it sits on top of the packing cardboard it shipped in. Will it bounce around? Maybe. Could I break the stereo because I didn't mount it properly? Absolutely. Blindly moving forward, I drilled a 3/4" hole into the driver-side of the box, near the back, to run wires. With the glove box closed, it looks like the bus doesn't have a stereo... like it hasn't for the 15 years I've owned it.
Head Unit Wiring
In retrospect, I could have started here. I am not going to Should on myself (see Don't Should on Yourself), but if I ever have a virgin stereo install to do again, I will. Consider: the 2 most important bits for a stereo install to be successful is for a solid ground and a reliable source of 12V power. One could just solve those 2 wires and confirm the stereo works and your power is good before you do anything else. Wise advice for a future me. Anyway, for a ground, I doubled-up on a o-ring-d ground that was screwed into the air vent box. I verified that ground was good with a continuity test back to the negative post on the battery. For power, I tapped into an always-on circuit but it did not have enough juice to power the stereo. The radio acted like it didn't have any power, though I could read 12V at the plug. So... let me back up and then I'll get back to this.
I wired ground first. Always do ground first. Then, I took the various speaker wires and mated them with their respective colored wires coming out of the stereo plug. I intend to swap these into something more like the plug in Oliver, but this is fine for version one. Last, I tapped into a 12V source, hiding the wire, etc. Then we test fire.... nothing. This is where ideally I would have run ground, and 12V to prove it will power up before doing anything else.
 |
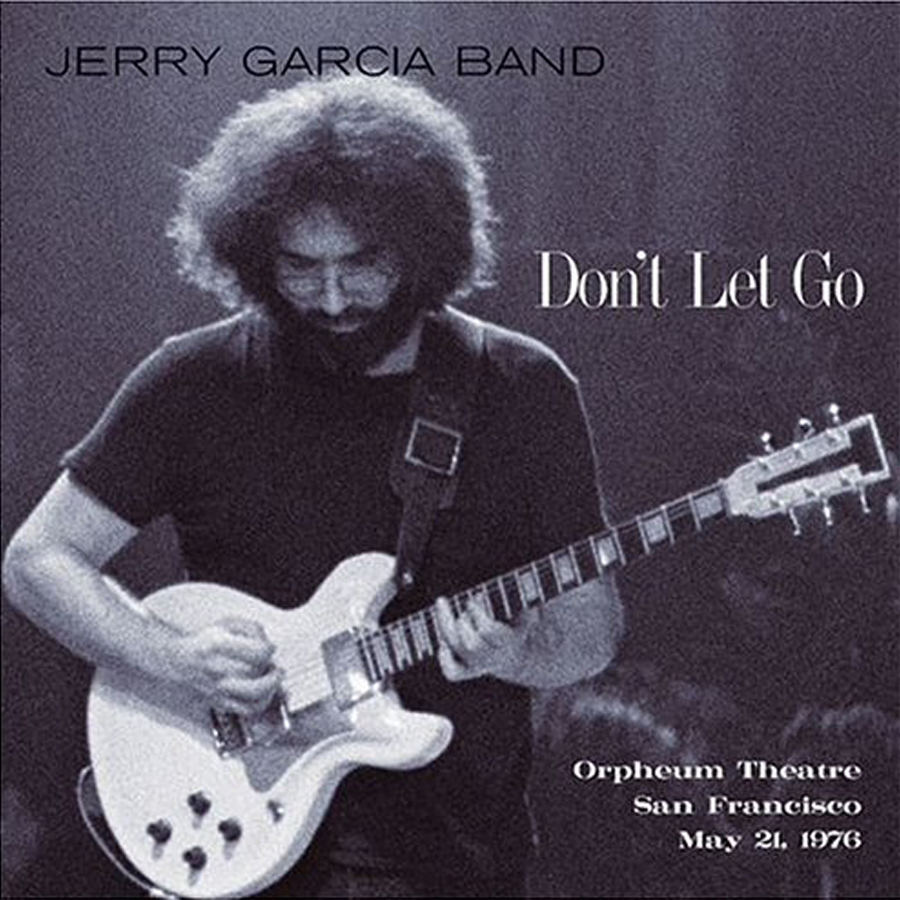
| https://jerrygarcia.com/album/dont-let-go/ |
The smile produced by a JGB "Sugaree" is virtually a given, especially from the mid-70's era. That smile was compounded by hearing it coming from all around us in Hapy. "How loud does it get," Boo asked. She remembers our struggles to hear on the road as acutely as I do. Turning it louder and louder... it never distorted. Pure Jerry deliciousness pouring out of the speakers, hugging us with music until we were unable to talk over it. Yeah, that'll do.
12V Source Fixed
We shut things down, and I cleaned up my mess for the night. The following morning, I was back out there to run a 12V lead from the luxury fusebox to the stereo. This sounds simple, but it took quite some doing. I started at the glovebox, running a stiff 12ga wire through the hole and down behind the front "floor" vent. It runs below the TDI accelerator pedal (See Pedal on the Right) and under the rubber floor mat to the right edge of the driver seat pedestal. It runs along the right edge of that pedestal and under the old seat mounts for the 1972 Westy rear-facing seat, under slides for the lot-couch / middle-row seat and under the front edge of the rock-n-roll bed cabinet. It appears behind the cabinet near the corner by the refer-storage cabinet. I wired it into "fuse #12", protected with a 16amp fuse. I layered tape on top of the wire where it intersected with the lot couch slides to we don't accidentally catch that wire when putting the couch back in. That would be bad.
Once I had the new 12V supply line set, I re-tested. All good. I took the opportunity to tuck away some other errant wires up front. That's it for today. Version one is ready for some test drives and a festival or camping trip before we make any modifications or harden wiring to the rear. Thanks, as always, for following along-
No comments:
Post a Comment