Baffling
 |
| testing only-angled idea |
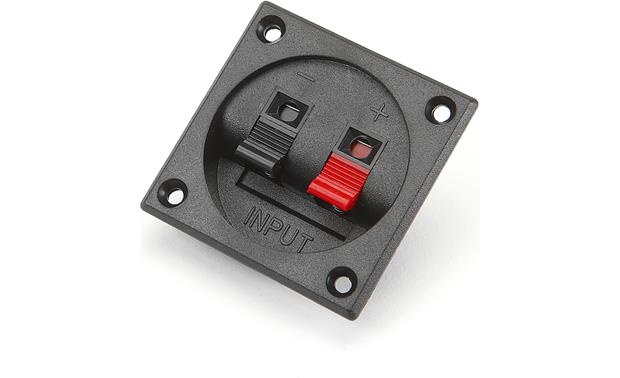 |
| wiring cup |
Cutting and Fitting
 |
| baffle glue drying |
To support the inner wall baffles, I took a couple small pieces of cut-off left-overs and placed a support along each of the inside of outer walls. I was able to rest the parallel-to-rear-wall baffle against this support to hold it straight as well as for an extra surface for glue.
Shaping
I had planned for 3 wire cups on the right side of the box. I bought these cups from Crutchfield, and used a hole-saw to mount them. The orientation of these cups becomes interesting when we consider the interior baffles I'd just built. I had 2 cups set side-by-side for the left and right 6x9 speakers and one below it for the sub. You can just make out the left-side hole in the picture below. This speaker cup orientation seemed intuitive. Once the baffle was set in place, wiring into the cups will be compromised. So, I had to pull out the Dremel again, and shave down a gentle curve behind 2 of the cups so there would not be any pressure on the wiring once all the various pieces were together.
 |
| smoothing the edges |
With the baffles shaped, I glued them into the box. Once the glue had dried overnight, I assessed the gaps, and plugged them with wooden kabob skewers... and more glue. Basically, I determined the length of the gap, and cut a thin skewer to length. I then squeezed the skewer with pliers until it was thin enough to fit into the gap. With a thin slotted screwdriver, I pushed the filler material into the seam, and repeated until the gap was completely filled with wood and then slathered it with glue. I then ran a thin bead of glue along every seam to make sure the 5 sides and the baffles were sealed.
At this point, I decided to fix the misaligned outer edges with the Dremel and a hand planer. Ideally, it would have lined up perfectly. If I build another box, I'll take much more care to align just one hole per side for the screw, so the sides fit much better. I did that with the inner baffles, and they aligned far better. Anyway, after a bunch of hours with the Dremel and hand planer, the wall mate-points are smooth enough where I think it will be hard to see how out-of-alignment they are once covered with carpet. That's what I'll do for next time... as well as get some wiring in, and the 6th side of the box attached... and then the edges planed.... yeah, this project got a little out of hand. But it keeps me distracted without pulling a car off the road.
Thanks, as always, for following along.
No comments:
Post a Comment