In my last post about the NewOldHouse work, I described the efforts by the chimney guys. Today, I get after repairing the chimney and then sending a liner down through. I didn't take pictures when I was up on the roof, nor did I appear to get any after I removed all the failed-mortar ones. Oh well, there are a couple shots after the chimney after mortaring.
Out with the Bad
 |
| liner in, cap placed |
As I removed each brick, I smacked the mortar that still clung to the brick with the hammer, directing the crumble into the 5 gallon bucket. Once the brick was unwilling to release any more mortar, I set it on the roof and moved on to the next one. Once the top course was clear, I swept the crumbling mortar into the bucket. I repeated this process for the 2nd course and found that the corner facing south west had additional loose bricks, so I took 3 or 4 out of the 3rd course and 2 out of the 4th course. Once they were all cleaned of mortar (and in some cases what looked like silicone), I swept up the roof into the bucket and climbed off the roof.
In with the Good
The next time I was able to get on the roof was the following weekend. Fortunately, even after the cold and wet weather initially arrives, we will often get some nice weather patches before the cold wet really sets in for the winter. This week and weekend were like that. So, leveraging a 5 gallon bucket as the means of mixing and transporting mixed mortar, I returned to the chimney work.
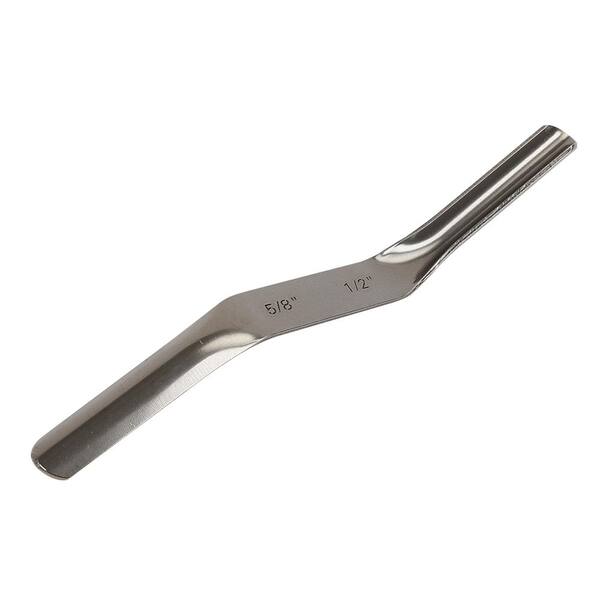 |
| joiner for brick mortaring |
Once on the roof, I set to learning how to mortar bricks by doing. I'd watched a few videos, so I knew the basics, and after a few bricks, I actually got the hang of it. My process was to slap a blob down first, then butter the adjoining short end before setting the brick in place. I then pressed it down, squeezing a little of the mortar out the sides, but eliminating air pockets in the process. Then, I would peanut butter spread mortar along the outer and inner seams. Last, I would use the brick joiner tool (image above until HomeDepot changes the URL) to clean up the outer seam. Using this process, I set 17 bricks in just under 2 hours (the use-life of mortar is 2 hours after the 10 minute rest period).
Liner In
 |
| mortar fixed, no cap |
I hauled this bundle up onto the roof and slowly passed the liner down through the chimney until it hit bottom. Boo had been my on-the-roof witness (strongly advise you have a partner around when you are on the roof. One good wind and you could be on the ground. Without someone there, that could be life-altering... or -ending). At this point, though, we needed someone in the crawlspace so she got down in there. We lifted the liner up a touch so she could grab hold and then she simply pulled it through the hole. As she pulled, I pushed down on the chimney cap, until the ap was settled and the liner jutted out from the chimney by about 6 inches. Once the cap settled onto the chimney top, I could apply construction adhesive and fix the cap to the chimney. I chose to leave it until the furnace work is complete, though, in case we need to move things. Down in the crawlspace, Boo added the stiff adapter tube to the end of the flexible liner, reflecting the original install, and providing a firm surface to attach the furnace exhaust / flue.
I chose not to do anything more with the liner at this point, preferring to let the furnace work dictate where and when the liner would be cut in the crawlspace. I expect it will be cut similarly to how it was before: right at the chimney wall where a transition to a hard exhaust will appear. With the chimney and liner solved, all of the outside work is complete. Next, I will be cleaning up the other rectangular ducting and then we can start to fix the furnace either to the ground or suspended from the floor joists.
That's it for now. Thanks, as always, for following along-
No comments:
Post a Comment