Today's post starts my journey for sounds in the convertible. For my US readers, happy day-after-Labor-Day and welcome to the most productive period of the calendar year (which ends with Thanksgiving). I suspect my productivity with my project cars will be affected inversely, so my stream of posts may see some breaks along the way. On to the music-
Humble Beginnings
 |
| it was kinda like this upstairs... |
Many years ago, I lived in a really sketchy area of Las Vegas. It was a 4-plex with 2 apartments up and two on the street level where our apartment was. We had bars on the windows, and crack vials greeting us every morning when we left through the heavy steel door, but the rent was cheap. And it was big. There were some folks living upstairs from us who decided to have a party with a punk band one night. As thick as the steel door was, the floors weren't, and we could clearly tell where the drummer was set up by watching the ceiling shake with his bass drum. As the clock ticked by, the band didn't let up, and the size of the crowd didn't seem to be shrinking either. By 3:AM, we had tried getting the attention of the renters upstairs, but our request to settle down was greeted with a middle finger. So, we went a different way. I took my bass cabinet, and set it on the coffee table, pointed at the ceiling underneath the center of the vibration. We routed the headphone jack from our stereo through an instrument patch cable into the bass cabinet input and played a version of "Passenger" that featured some HUGE Phil bombs (them be big blasts from the Grateful Dead bass man for those not in the know). By the second Phil bomb, the band had stopped. We had made our point... and I planted a seed in my brain for incredibly loud, but clean music. Could I do that in a car?
To Sub or Not To Sub
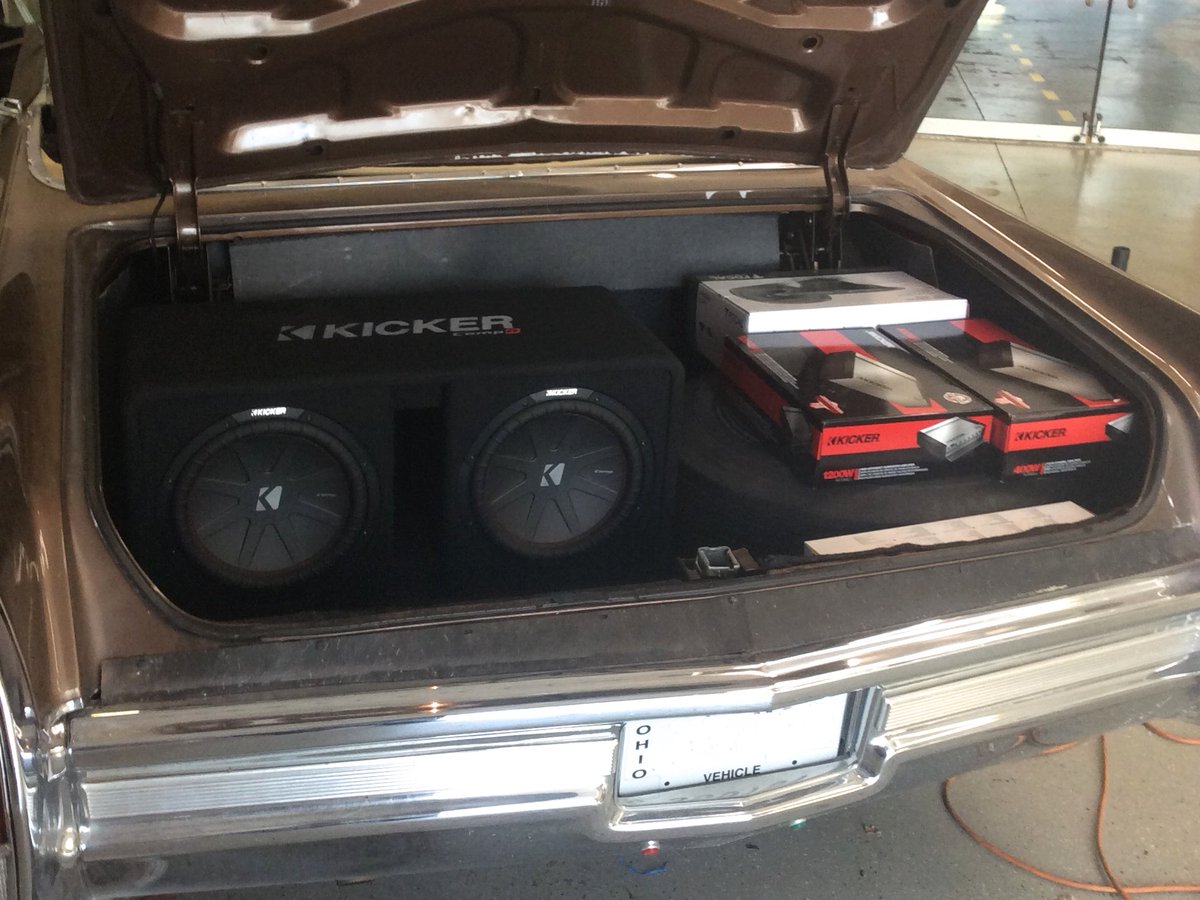 |
| You gotta get that bass |
In thinking about sound in a convertible, you need to consider that the wind and road noise, even with the top up, is much louder than a tin-top. Once the top is down, the wind consumes sound. Of the various frequencies, the high-end cuts through, but the low and mid-range disappear. For a bass-lover, this creates a worst-case scenario: no lows. So, no Phil Bombs. For a larger convertible, like the caddy in the picture here, building in a sub-woofer is kind of a no-brainer. You gotta get that bass. With this little MGB, though, space is such a premium, how can a woofer get added and have it perform? We will start with a 10" sub, and then build a custom box.
Planning a Box
 |
| start with cardboard |
There are a few free box configuration calculators on the internet, and some are very advanced (
like this one), asking questions I don't understand. I stuck with something simple (
this one): take the manufacturer's recommended enclosure space and build a box with that area in mind. The sub I'm looking at (
JL Audio) requires .65 cubic feet of enclosed space, which is roughly 18" x 11" x 9". A box that big needs to go in the boot since the roadster has effectively no free space in the cabin. I figured that if I could keep it as tight against the trunk front wall (
front-is-front), I could still manage a serviceable trunk.So, I started with a rectangle concept.
Apparently, directing your sub towards the rear creates the greatest decibels, so I incorporated that into the plan, pointing the sub towards the open trunk. I had intended to have 6x9 speakers in that area, though. From some older posts, you've probably seen the horizontal openings I left in that wall when I patched the PO hack-up. I wasn't able to duplicate that pattern while fitting a box because of the location of the gas tank vent lines. So, I modified the plan to include 6x9's mounted vertically to the front of the box. To allow for the sound to make it into the cabin effectively, I'll need to cut more of that wall.
I tried various plans, each with cardboard, cutting and shaping to fit into the trunk, between the hinges and under the gas vapor pipes. With each concept, I would test fit into the trunk and test the operation of the trunk lid, and consider how I was going to address the trunk light. When you think you have it, double check every measurement, and confirm the cardboard box sets as you envisioned. Then, buy a couple sheets of 2' x 4' 3/4" MDF, a bottle of carpenters glue, and some wood-screws that have at least an inch of thread and about an inch of no-thread closest to the head. The no-thread allows the screw to pull the sheets together while being tightened.
Build-a-Box
 |
| label the parts, directional arrows help |
The actual cutting, drilling and glue/screwing together of a box sounds so simple. If you have good woodworking tools, it probably is. I have a circular saw, a hand drill and a jigsaw. Ideally, you would have a table saw a drill press and a band or scroll saw. The idea is the same, though with the hand tools it can take days versus hours. You've been warned. Anyway, take your confirmed measurements from the cardboard plan. With these outside dimensions, you need to account for the width of the MDF. Remove twice that width to account for it; and remove it from the shortest sides. For example, my box is wider than it is tall and taller than it is deep. So, for all dimensions which intersect with the sides, I removed 1-1/2 inches since this is the smallest piece. I also removed 1-1/2 inches from the long side. This way, the longest pieces don't have the visible seams. The research I did shows that this is the recommended way to do it. Double and triple check the measurements and mark which side of the line you want the saw blade to run against by marking an "X" on the waste side. Then start cutting. At the earliest opportunity, start test fitting pieces to each other, and then in the trunk.
 |
| way too many screws |
Once everything is cut for size, test fit the whole box. Shave what needs to be shaved. Re-cut pieces if you need to. Then, plan your speaker hole(s). Since I don't have my sub-woofer in-hand yet, I did not cut or attach the rear side. I did plan for and cut the holes for the 6x9 speakers so they sit vertically, about 1/2" from the edges. Once they are front-mounted, there will be less than 3" protruding into the box, so I will add baffles around them, maximizing the area containing the sub. To assemble the box, pre-drill each mating side with 2 or 3 holes for the screws. Lay on the glue thick, set the pieces together and thread the screws in. The glue is really holding the sides together; the screws are really there for support so don't do as many as I did, it was way too much work and for no gain.. I assembled all sides except the rear and test fit against the trunk wall. The fit is just what I'd aimed for.
I stopped work on the box at this point so I could get a version one of a stereo installed. This also provided me time to pull together money for an amplifier and a sub-woofer. When I get back to it, I'll document it here.
Head Unit
 |
| the Sony MEX-M70BT |
Regardless of whether I'm going to run a 5-channel amplifier or a 1-channel just for the sub, I need a stereo first. I looked at various units available on Crutchfield, but their site assumes that an MG can't fit a stereo that's deeper than about 4 inches. I tested that assumption with an old car stereo and it fit without issues. So, I ignored what Crutchfield said about fitment in the center console (I don't recommend ignoring them, they're pretty smart). Since this is a convertible, there is a higher probability of water getting near the unit. Also, there is the real problem with glare from sunlight. These are common problems with boat stereos, so I shifted my shopping to focus on boat stereos. This is when Crutchfield was very helpful; their reviews were critical. The JVC and Pioneer offerings were universally panned. The Sony (MEX-M70BT) had great reviews, plays all kinds of CD formats, includes hands-free Bluetooth phone call support, an iPhone app to control it -and- it is low-glare, marine, etc. All for under $120.
Sold... to me by Crutchfield.
Version One
I wired both the always-on and switched power for the the stereo into an always-hot circuit, and set the stereo to auto-off 30 seconds after I remove the face. It's a convertible; I won't be leaving the face on it when I leave, but I don't want to drain the battery by leaving the ignition switched to run when I want to sit and listen to music somewhere. I can operate a power button regardless. I installed the 6x9's into the horizonal holes in the trunk wall, but ran wire long enough for me to plan an amp. I reused the existing front speakers, knowing that my 6-1/2" rounds will probably go into custom enclosures in the footwells... in a not-too-distant future version. This initial version was to get sounds into the convertible, while spending the least. With the stereo wired, speakers wired, antennae wired, it was ready to go, so I popped the positive cable back onto the battery and fired up the radio. Soundgarden always sounds good, but when playing through a new system, as the first song through that system, "Spoon Man" was just that much better.
That's it for today. I expect to get back to the speaker-box eventually. I think I'll be mounting the 6-1/2 inch speakers before that. I'm discovering that the driver door speaker was fried when I bought the car; now, I can hear it farting. Yuck, and... fade-to-rear. As always, thanks for following along-


No comments:
Post a Comment