Seal the Seams
Seam sealer is this sticky black goop that makes sure the seams are weather sealed. I guess that's kind of obvious. Anyway, it comes in a caulking tube and is applied like caulk around a window in your house. Except its not that easy. And you're probably outside. And you're all scrunched into some crazy twisted body contortion because getting the tip of a caulking gun against the underside of a little British sports car is virtually impossible without a lift. Like caulk, you need to press it into the seam with the tip of your (gloved?) finger, and make sure the edges are tapered down so there's not a spot for water to collect. I did this on both the underside and the topside of the floors. It was actually kinda fun.
Flex Seal
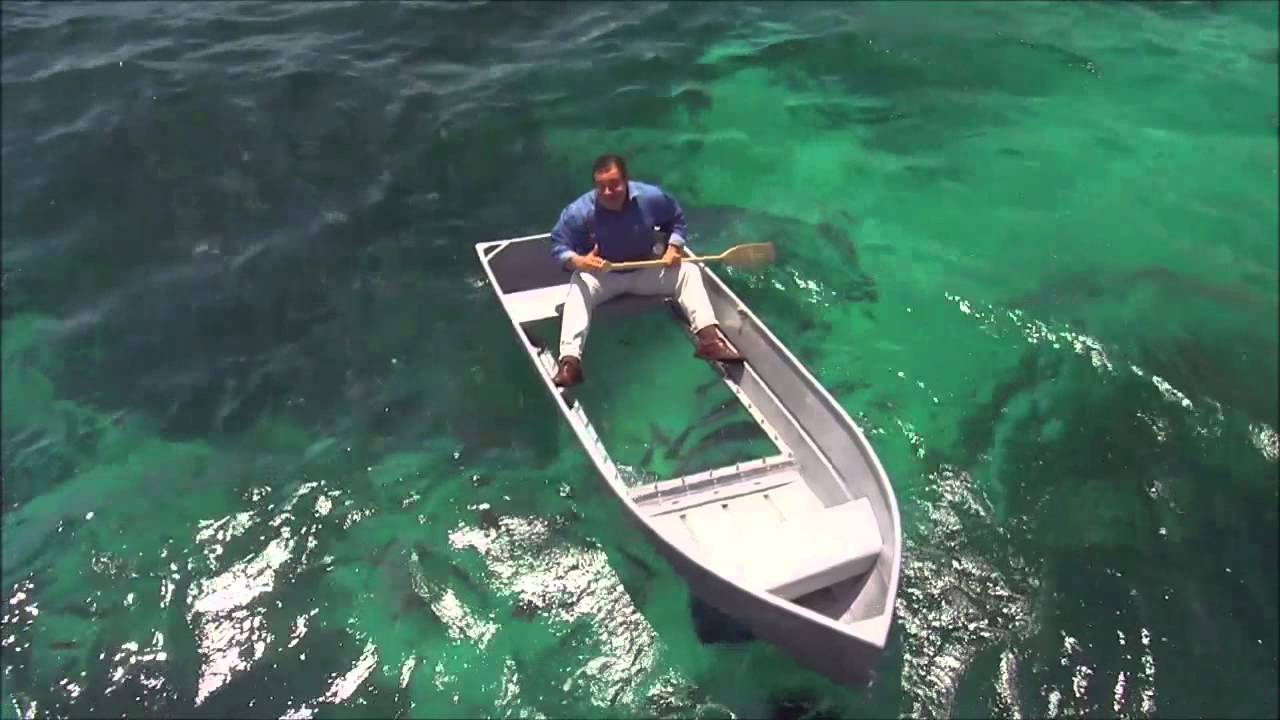 You've seen the commercials. "I cut my boat in half!" he cries as he completes the cut from stem to stern with a cut-off wheel on an angle grinder. In an older advert he replaced the bottom of his boat with a screen door, painted it with some clear stuff and then by the end of the ad he's paddling around while sitting on a screen door. Yeah, that's pretty crazy, but the picture here shows it. I thought I'd experiment with it, since I guess that's what I do. So, once the seam sealer dried, I got a quart of the black Flex Seal and painted the edges and then the floors and then up the sides of the MGB tub. I made sure to keep the drains cleared, and the areas around the plastic plug-pulls cleared as well. I wondered if it would meaningfully change the amount of noise. I found that banging on the floor with my knuckle before and after did see a reduction of around 10dB. From that, I've concluded that it would suppress the noise from a rock hitting the underside. All of the interweb sites dealing with noise reduction insist that the noise associated with vibration is a very special animal not to be caged by simple things like a rubber-y paint. Okay fine. I tried it anyway and there are noise reducers in paint form now too, so I don't know what to make of that. I guess the interweb can't agree on it.
Sound Deadener
Once the Flex Seal paint was dry, I thought I'd go after the traditional asphalt, rubber or butyl sound deadener. I've used a couple different things before, and had leftovers of both. The foil-backed stuff costs more than the plain rubber-ish mats available from McMaster-Carr, but back when I experimented with them before, I couldn't really tell how well they worked because I didn't have a decibel tester. This time, I put the McMaster-Carr stuff on the big open spaces in the trunk, and tried the knuckle banging test. It didn't deaden the sound nearly as much as I expected. If memory serves, it was within the margin of error for my inconsistent banging force. Same went for putting the foil-backed stuff on the floor of the cabin. But then I noticed something: the foil backed stuff wasn't really sticking to the Flex Seal. Grr.. Piece by piece the foil-backed, expensive sound deadener lifted off the floor, no longer sticky. I decided I didn't want to deal with it right then. So, I installed the seats and moved onto other things for the winter.
Paint Again
Now, many months later, I'm back with some time and interest in the little car. I've spent many weeks clowning with rims and stripping parts of a 280ZX, so I'm ready for something a little more satisfying. I have a bunch of interior bits and a new convertible top on order from the UK, so I figured I better get the steel and noise containment solved. Knowing that the noise reduction won't stick to the Flex Seal, I concluded that a coat of regular paint on top of the Flex Seal might work. In my gut, this felt like putting lipstick on a pig or just throwing darts in the dark. Still, the thinking was that if regular paint gripped the Flex Seal and the noise reducer sticks to the regular paint, then it worked. Of course, will the noise reducer actually work? First, let's get the paint and the deadener on there, eh? For paint, I used some black paint I had in a touchup can. As described by the Flex Seal folks, the paint adhered very well. In retrospect, the problem could have been that the old noise deadener was just that: old. Maybe it didn't stick because it's stickiness had dried out or faded over time.
Deaden Again

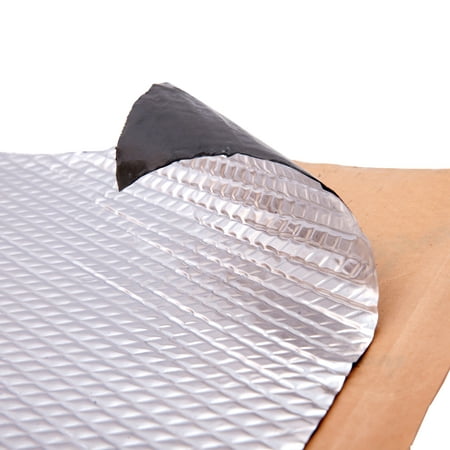
For the tub, though, it gripped very well. In my usual experimental fashion, I didn't paint over the top of all of the Flex Seal. In some of those other areas, I lightly sanded with 220 grit sandpaper and in others I left it just as it was. The butyl stuff I bought was a little different in that it had diamond embossing (see picture). The directions indicated that an area installation was complete when the diamonds had been pressed flat, preferably with a roller. I hadn't a roller. I looked at Harbor Freight and they didn't have one. I could order one online for $12US or more, but then I'd have to wait for it to arrive. So... I tried some other things I did have in the garage.... and one from the kitchen.
Sticky Tuna
 I found 2 tools were very effective at getting the butyl to adhere and the diamonds to flatten out. First, I used a can of tuna. Yeah, that's right. It's round and flat like a hockey puck, so it was able to flatten the bigger areas pretty quickly. For pressing on edges and tight spots, I used the plastic handles on the scissors I was using otherwise to cut the sections. I didn't do other things exactly like the directions either. For example, the manufacturer (and the interweb) say to draw a template on paper and then translate that template onto the paper-backing of the sound deadener. That's a lot of time and paper. Instead, I used a sheet of aluminum foil over and over again. I would take the piece, press it into the spot where I want the material to go and then drag my fingernail along the edges. I would then transfer that edge to the backing, cut and apply. For applying, it is recommended to pull the paper as you install, and I followed that advice. I also followed the advice of cleaning the area with a degreaser (I'd cleaned these spots so many times, I just used window cleaner as a final check) before fitting deadener. Even with the foil time-saver, this is quite time consuming even on a little car. I spent over 4 hours and got 2/3 of the driver side done and about 1/3 of the passenger side before I ran out of material. Of course, getting down behind the pedals on this thing takes some doing, so there's time lost there. I expect the trunk will be much faster.
I'm waiting for more material, and I'll be finishing up the floors once it arrives. After that, it's carpet pad and carpet, unless I discover something else that needs to be done to the floors first. I really can't imagine anything, but I'll continue this thread if it does. Otherwise, that's it for today. Thanks ,as always, for following along-
Apologies for the post-fail where an early draft of a future posting got released. That post (about replacing the radiator in the TDI-powered microbus) will appear later on, once I've re-written it a few times.
No comments:
Post a Comment